When working with WordPress databases, we’re pretty fortunate to have tools like WP Migrate DB Pro, phpMyAdmin, Sequel Pro, and so on. But there are times when importing a large database is a bit more demanding than the front-end utilities we have.
Perhaps we have to change up our PHP configuration, perhaps we’re dealing with hundreds of megabytes worth of data, perhaps we don’t have the kind of control on the environment that we need.
Whatever the case, we always have the command line. And if you’re working with any CMS with MAMP, and you’re faced with importing large databases, then you may need to stop tweaking your PHP settings and simply import the file via the command-line.
Importing A Large Database
One of the first questions that often comes up when having to do this is:
Why can’t I just use a front-end?
Technically, you can. It may take a lot of tweaking, but if you can…
- get the environmental variables configured in such a way that a request won’t time out,
- define a value such that a large enough upload is permitted,
- and the software won’t opt to cut you off because it thinks something is broken because of the time that has passed
Then you may be okay and this post isn’t for you, but if that’s not the situation you find yourself working in, then here’s how you can go about importing a large database using an SQL file and the command line.
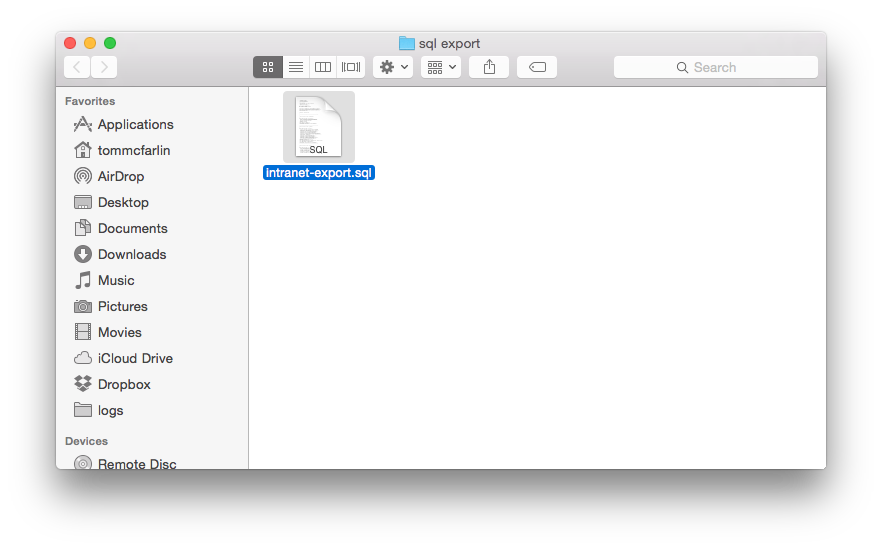
1. Grab The SQL File
This post assumes you have a copy of the SQL file you’re trying to import. This is something you can usually grab from the server, from whoever has hired you, or whatever system it is with which you’ll be working.
Ultimately, the goal is to replicate the production environment on your local machine so you can make the necessary changes and then have what you need to deploy to the staging environment or back to the production environment.
2. Connect To The Database
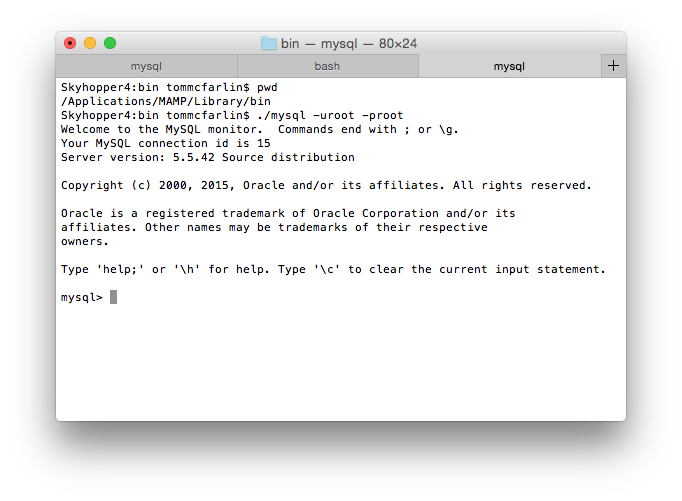
If you’re running MAMP, then you’re going to need to navigate to the MySQL executable. You’ll need to launch your command-line then navigate to the following path (or similar path depending on your setup and when you’re reading this):
$ cd /Applications/MAMP/Library/bin
From there, you can connect to your MySQL server (assuming it’s running) by entering the following command:
$ ./mysql -uroot -proot
And then you’ll be presented with the MySQL command-line:
At this point, you’ll need to connect to the database into which you want to import your file. To do this, simply enter the following:
connect your_database_name
Then it’s time to actually import the file.
3. Import The Export
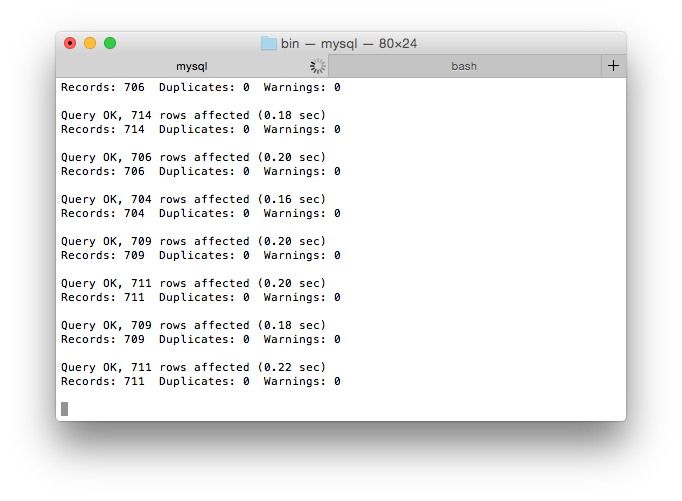
Next, simply enter the following command:
source /path/to/your/file/sql_export.sql
And let MySQL do its thing.
And when it’s done, you can exit mySQL by typing (don't forget the semicolon at the end):
quit;
EXPORT DATABASE FROM MAMP (SQL dump)
Step One:
- Open a new terminal window
Step Two:
- Navigate to the MAMP install by entering the following line in terminal
cd /applications/MAMP/library/bin- Hit the enter key
Step Three:
- Write the dump command
./mysqldump -u [USERNAME] -p [DATA_BASENAME] > [PATH_TO_FILE]- Hit the enter key
- Example:
./mysqldump -u root -p wp_database > /Applications/MAMP/htdocs/symposium10_wp/wp_db_onezero.sql- Quick tip: to navigate to a folder quickly you can drag the folder into the terminal window and it will write the location of the folder. It was a great day when someone showed me this.
Step Four:
- This line of text should appear after you hit enter
Enter password:- So guess what, type your password, keep in mind that the letters will not appear, but they are there
- Hit the enter key
Step Five:
- Check the location of where you stored your file, if it is there, SUCCESS
- Now you can import the database, which will be outlined next.