This tutorial is meant for someone with basic web design knowledge who may be running your own small business or have just started building a WordPress website for a client for the first time.
What i will cover in this article is finding a good web hosting and site installation. In later articles, I will recommend a few good visual builder, site performance and security.
Before you begin, you will need a domain name. If you are planning on doing a local installation, this article does not cover it. At the end of this tutorial you should have a working live WordPress site running.
Domain name
For domain name, you have 2 choices. Either buy a domain from a domain registrar or purchase a domain when you sign up for a new web hosting plan. In most cases, web hosting providers will often give you a free domain of your choice when you purchase web hosting.
However, I tend to purchase from a domain registrar because at some point if i dislike or decide to change web hosting company, it will save you the hassle having to transfer the domain which can take a few days to a week. Instead, you just point your domain to new host and be done with it.
The domain registrars I recommend is IWantMyName because they have support for DNSSEC.
Once you have purchase a domain, you will need to point the domain to your new web host nameservers. See this article on how to point your domain or watch this video: https://www.youtube.com/watch?v=9FqsTXSpxOk
If you are on A2Hosting, to find out your nameserver, login to your customer portal and in the top menu, click on Services --> My services. You will now be on 'My Products and Services' page. Click on your product title. On the next page you will see some details (as shown in image below):
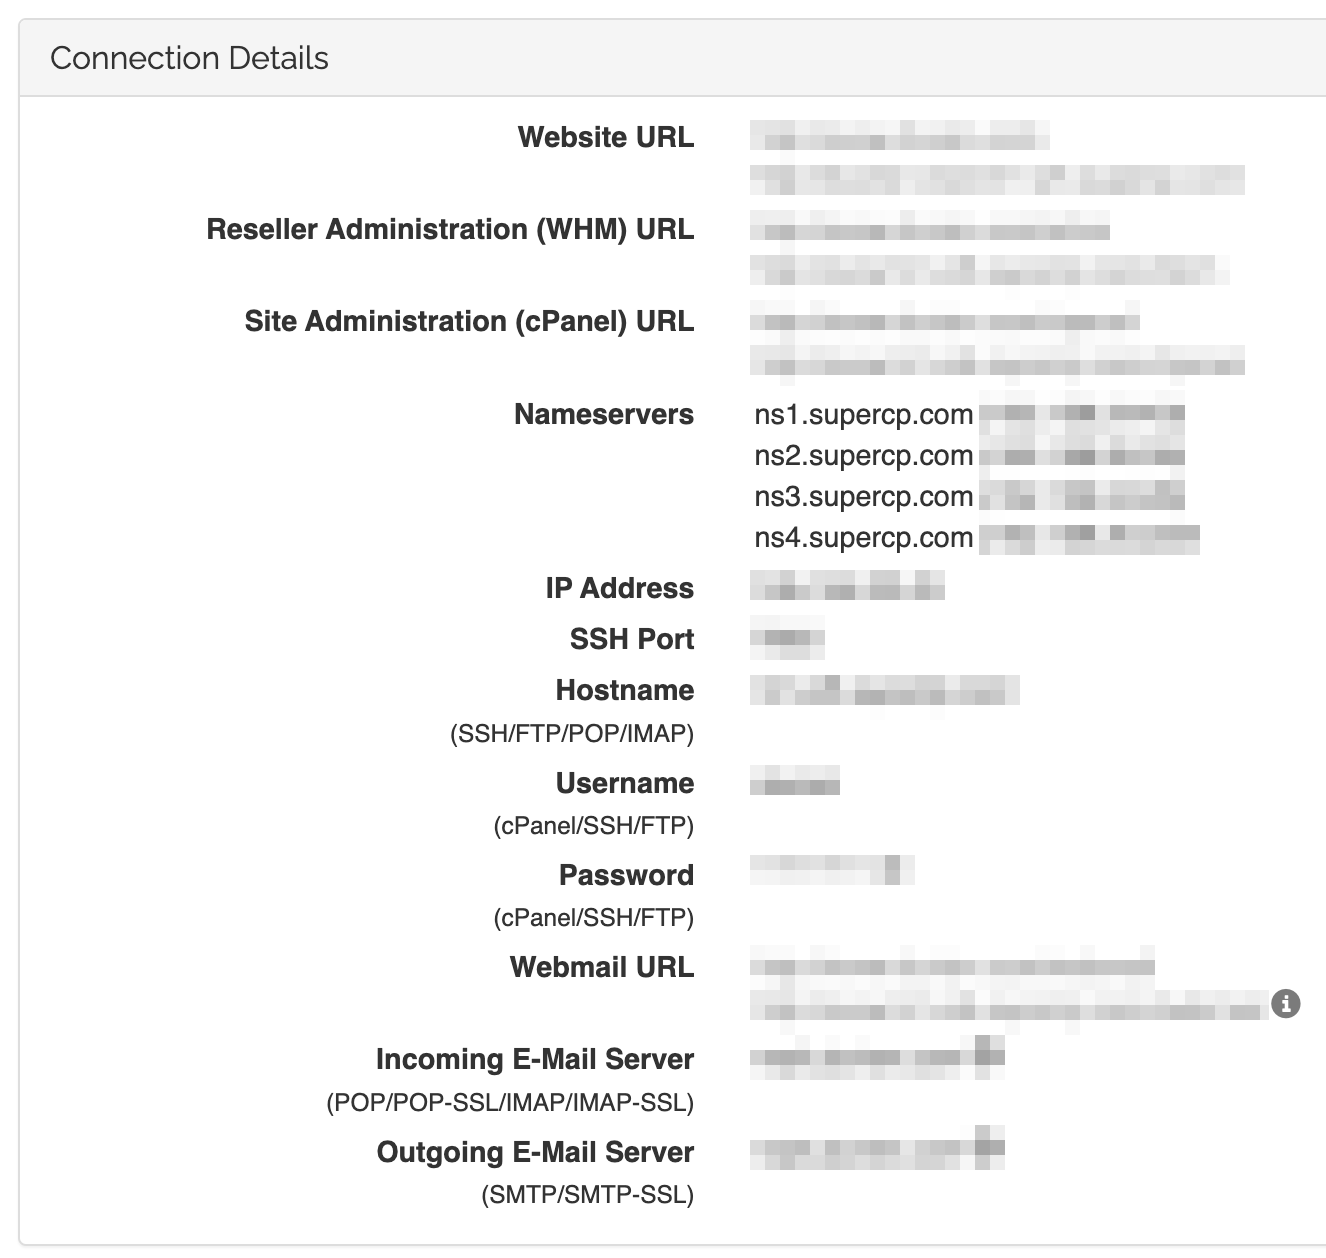
Take a note of the nameservers, you will need this to point your domain to. If you are on a different hosting provider, find out from their support page how to obtain nameservers or contact support (usually this will also be shown in the hosting details email after you signup. Nameservers usually always starts with ns1, ns2, ns3, ns4
Website hosting
Having a domain name only means it's a way for site visitors to find out like an address but you still require to host a website so site visitors can see your webpages.
After going through a few hosting providers, I settled with A2Hosting. Have been with them for a few years now and they have been really good on both support and server performances. For this tutorial, the hosting plan i would recommend are A2Hosting Turbo Run or Turbo Jump.
These plans are optimised for WordPress sites so if you are serious about your business or want to give your client good site performance (it helps for SEO), then it is recommended to spend a little more than cheap shared hosting servers.
Before we install WordPress
Since i chose A2Hosting, this tutorial will be based on installing WordPress through the A2Hosting control panel which is really just cPanel. So if you are with a different hosting provider that also provides cPanel to mange your web hosting, then it should also be able to follow this tutorial.
WordPress is build with PHP and MariaDB (which is essentially mySQL) server. It requires a database to request and store data. So first thing we want to do is setup a database we can use.
So before we begin our installation, we want to make sure we have the following set up. Every website should be secured by serving all webpages on https. In most cases, your web hosting provider should automatically install a free SSL certificate (ie, Let's Encrypt) for you. If not, you can do this manually by logging into your control panel. On A2Hosting, it is https://[your-domain-name]/cpanel (replace [your-domain-name] with your own domain). Find the icon with the name 'SSL/ TLS Status' and click on it.
On the next page, put a tick in the checkbox next to your domain and click on 'Run AutoSSL'
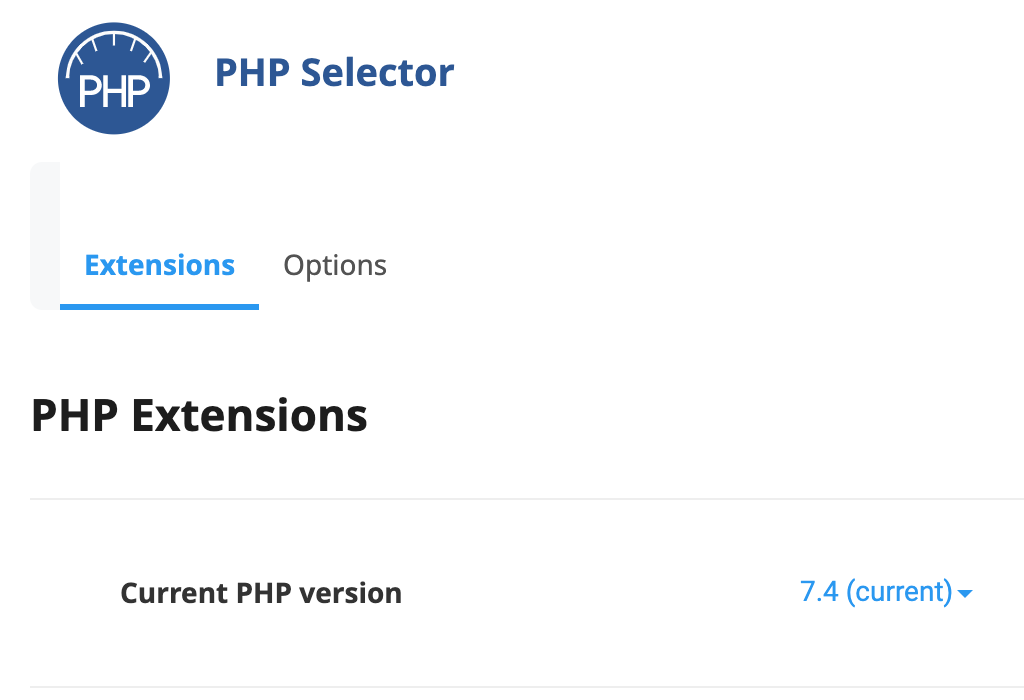
Next, check you are using the latest version of PHP. Back to your cPanel dashboard, find the icon with the name 'Select PHP version'.
On the next page, make sure PHP version 7.4 is selected, if not, select this. Even though WordPress now works with PHP 8, i would still hold off using it for now because not all WordPress plugins are compatible with PHP 8.
Finally, we need to set up a database to use for WordPress. In your cPanel dashboard, click on 'MySQL Databases'.

Note: while you fill out the DB login details, make sure to write it down because you will need this information later when we install WordPress.
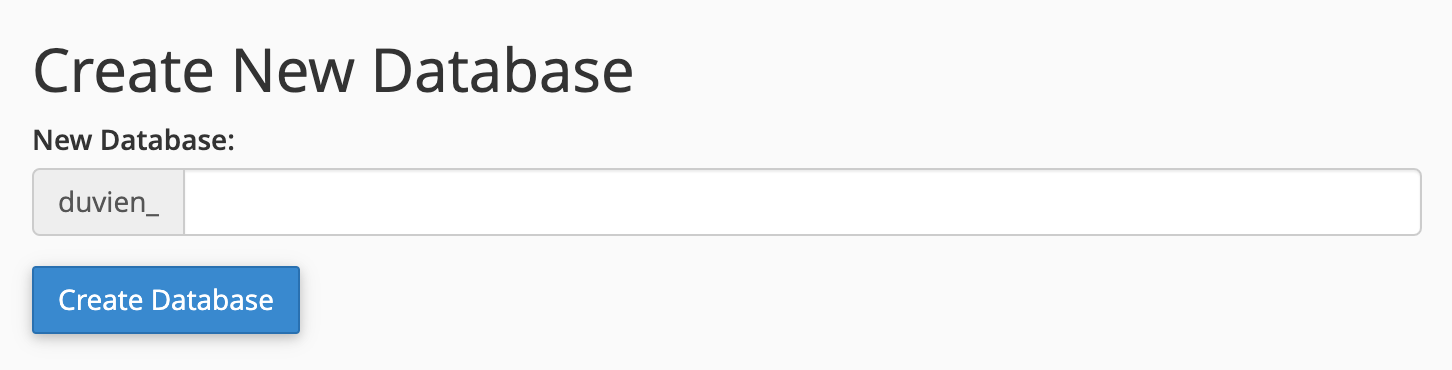
1. Enter a database name and then click on the 'Create Database' button.

your newly created database will be shown in the list.
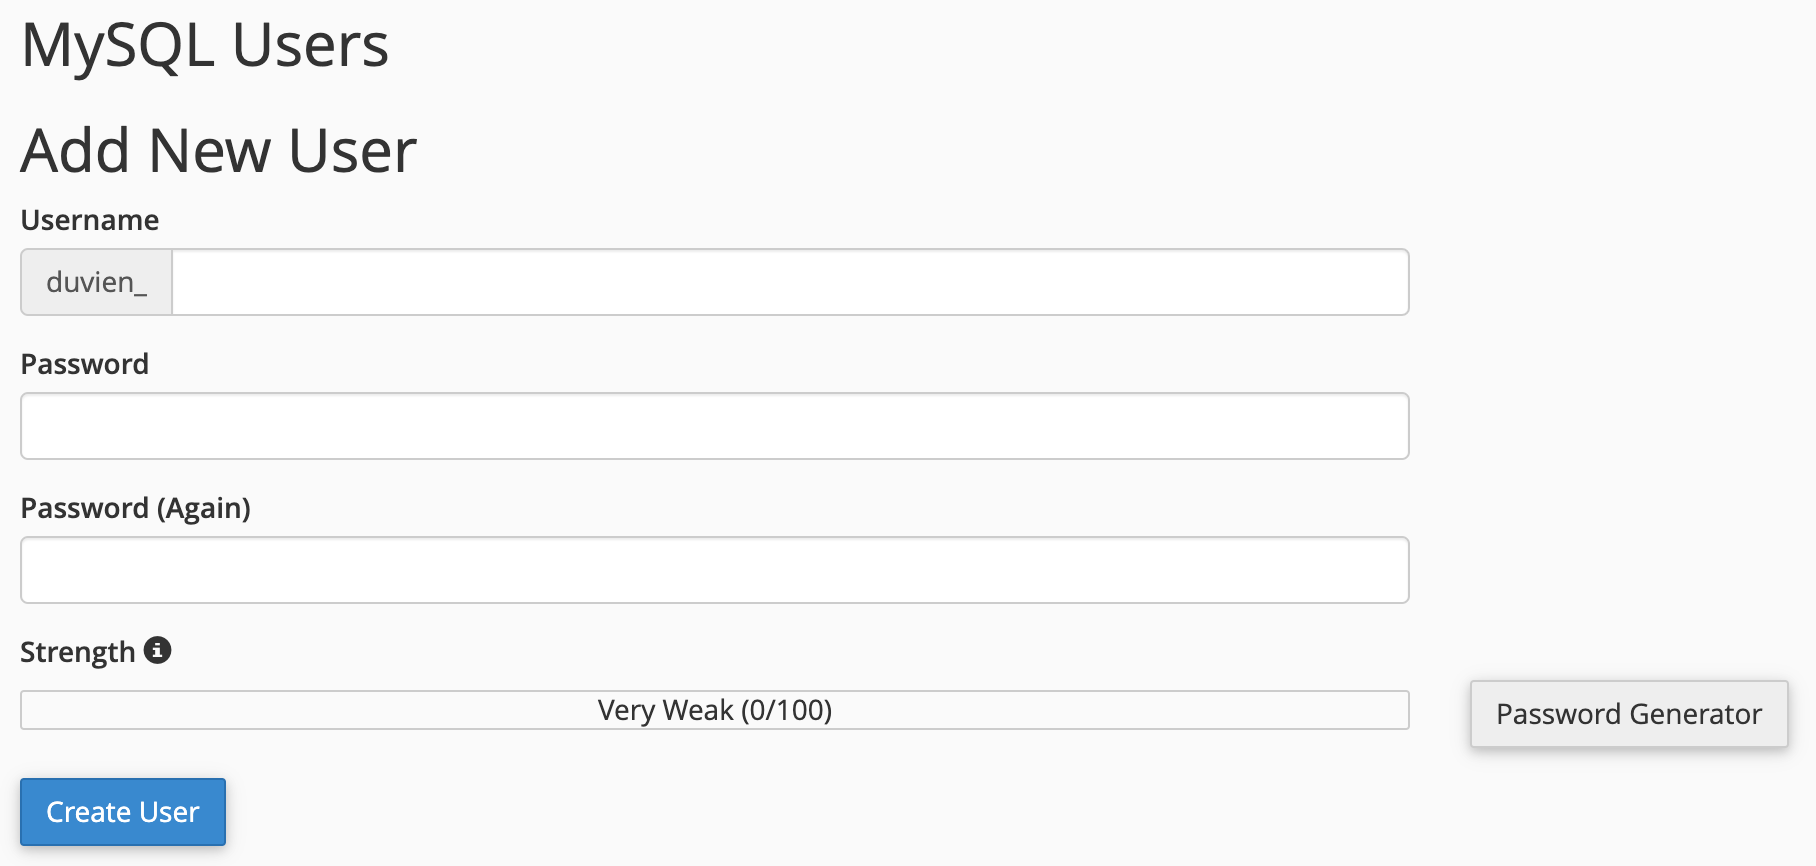
2. Next we need to create a database user for database to use. enter a username and password, then click on the 'Create User' button. On the next page, click on the checkbox next to 'All privileges' (as shown in image below). Click on the 'Make Changes' button to save your changes.
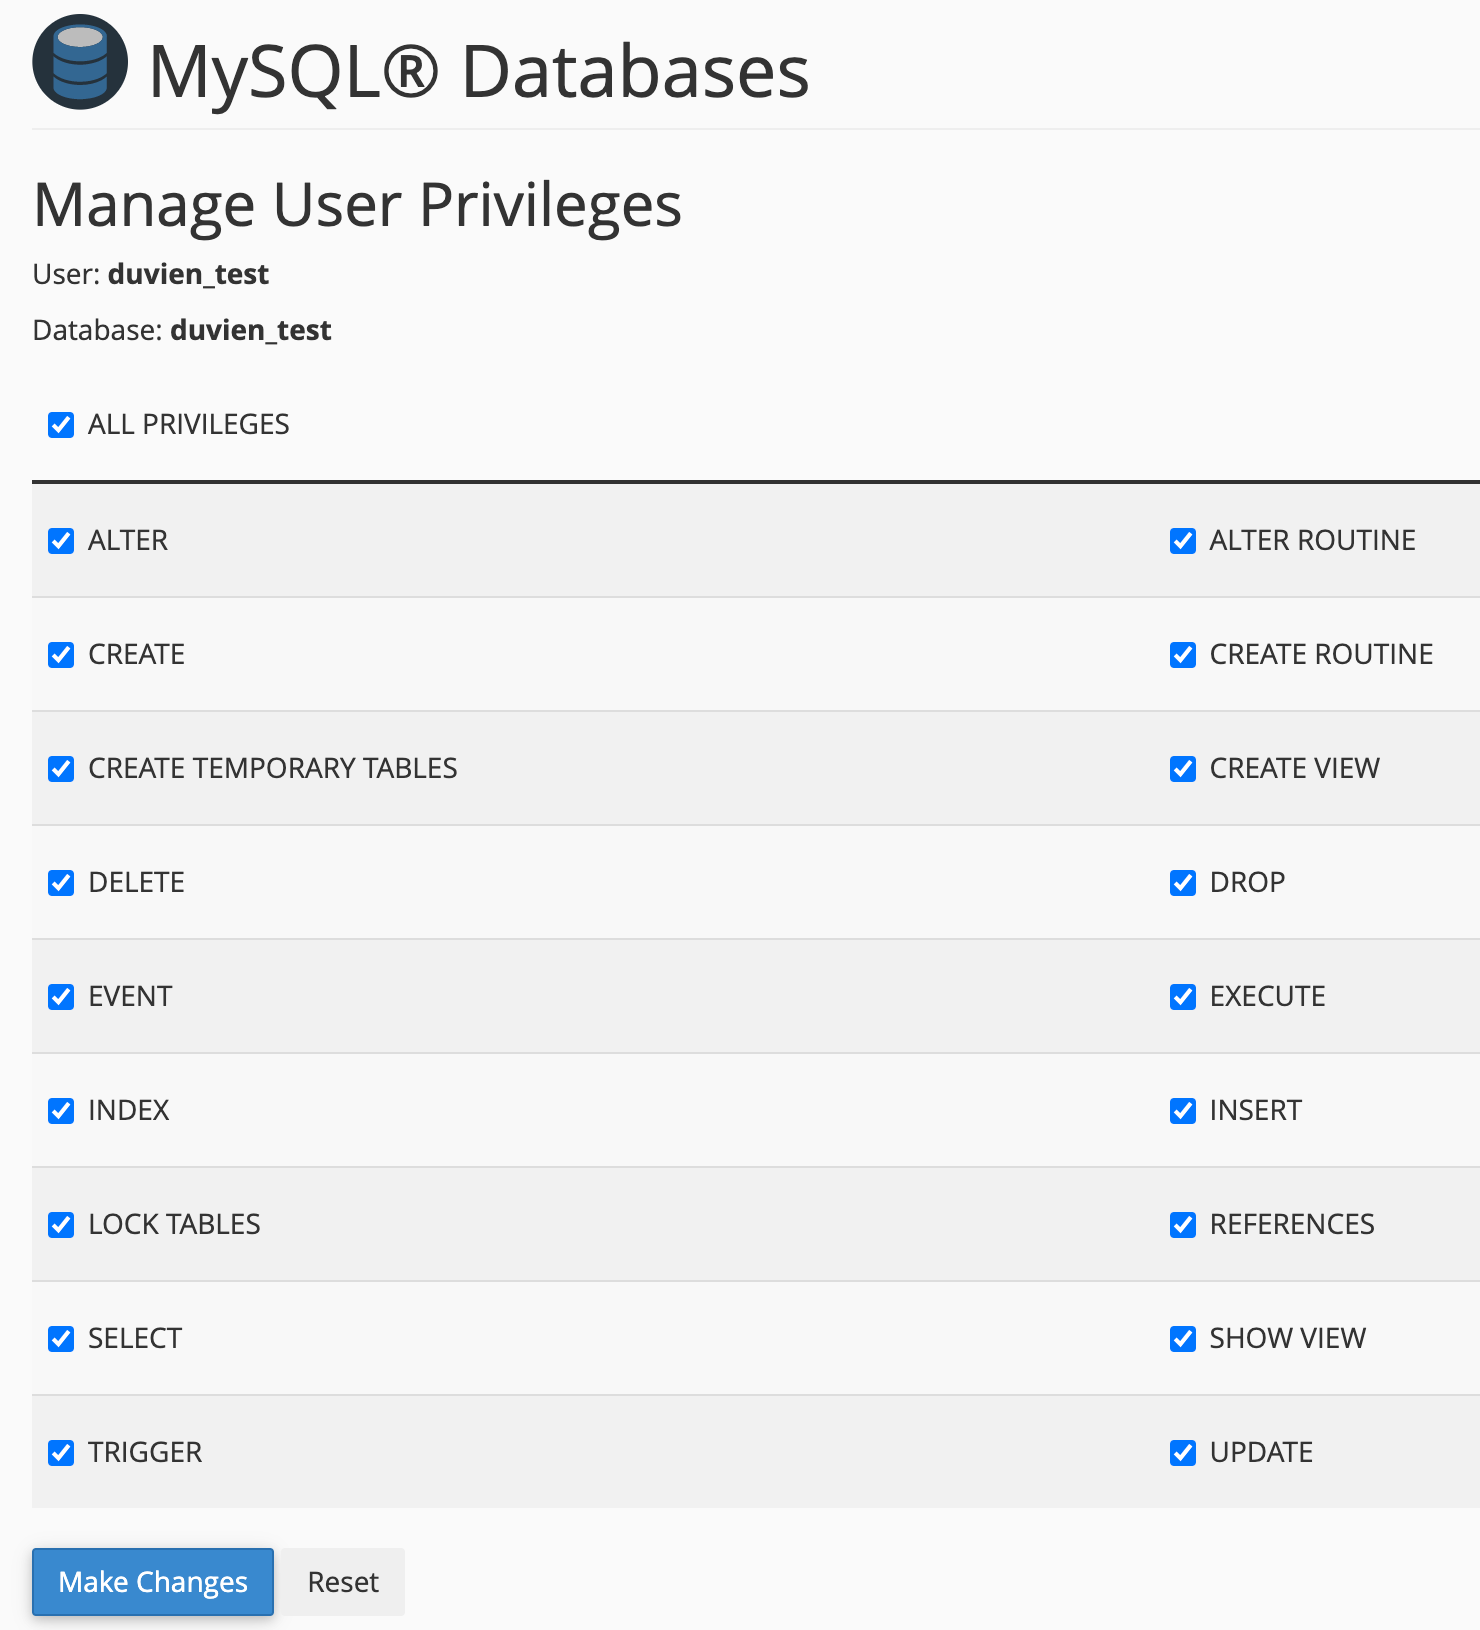
You should now see you newly created database user in the current user list.

3. Now we need to assign this user to the new database.
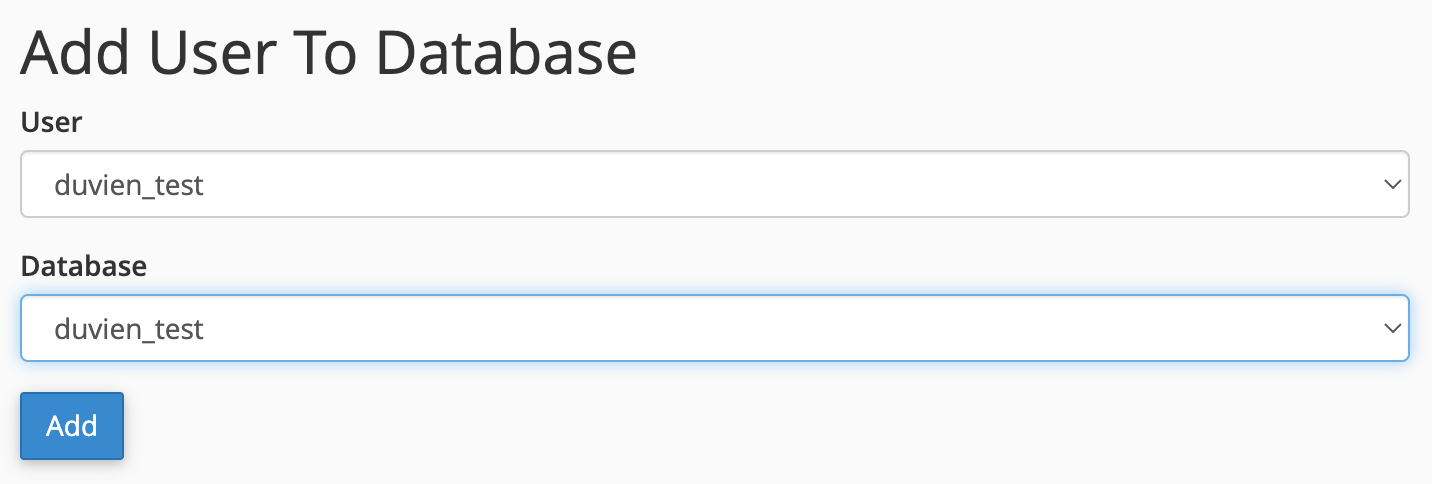
Go to 'Add User To Database' section and select the new user and database you have created. Then click on the 'Add' button to assign the user to database.
Scroll back up the page to 'Current database' section, you should see both your database and user.

Well done, you have setup a new database ready for use to install WordPress
Installing WordPress
Download WordPress full package latest version at: https://wordpress.org/download/ (as of writing this article version 6 is the latest version).
The download package usually comes as a compressed zip file. Uncompress the downloaded package on your desktop. Now we need to upload the files to your root directory on your web hosting.
There are 2 ways you can upload your files. Use sFTP program or cPanel File Manager. You also use SSH via command line but we wouldn't go into this.
1. Using sFTP. sFTP stands for File Transfer Protocol. It is a network Protocol used for transferring files over the internet. The letter s at the front stands for secure. Without the s is unsecure, you want to avoid using this even though the option is there.
To use FTP, you need a program that understands this protocol. I recommend Filezilla, it's free and does this job. Download the Filzilla Client version, not sever. Please read the documentation on how to install and use Filezilla.
2. Using cPanel File Manager. cPanel comes with a file manager that lets you upload/download files from your web hosting server.
In your cPanel dashboard, find the icon with the name 'File Manager' and click on it. This will open up the file manager in a new tab. The file manager should look like this, see image below:
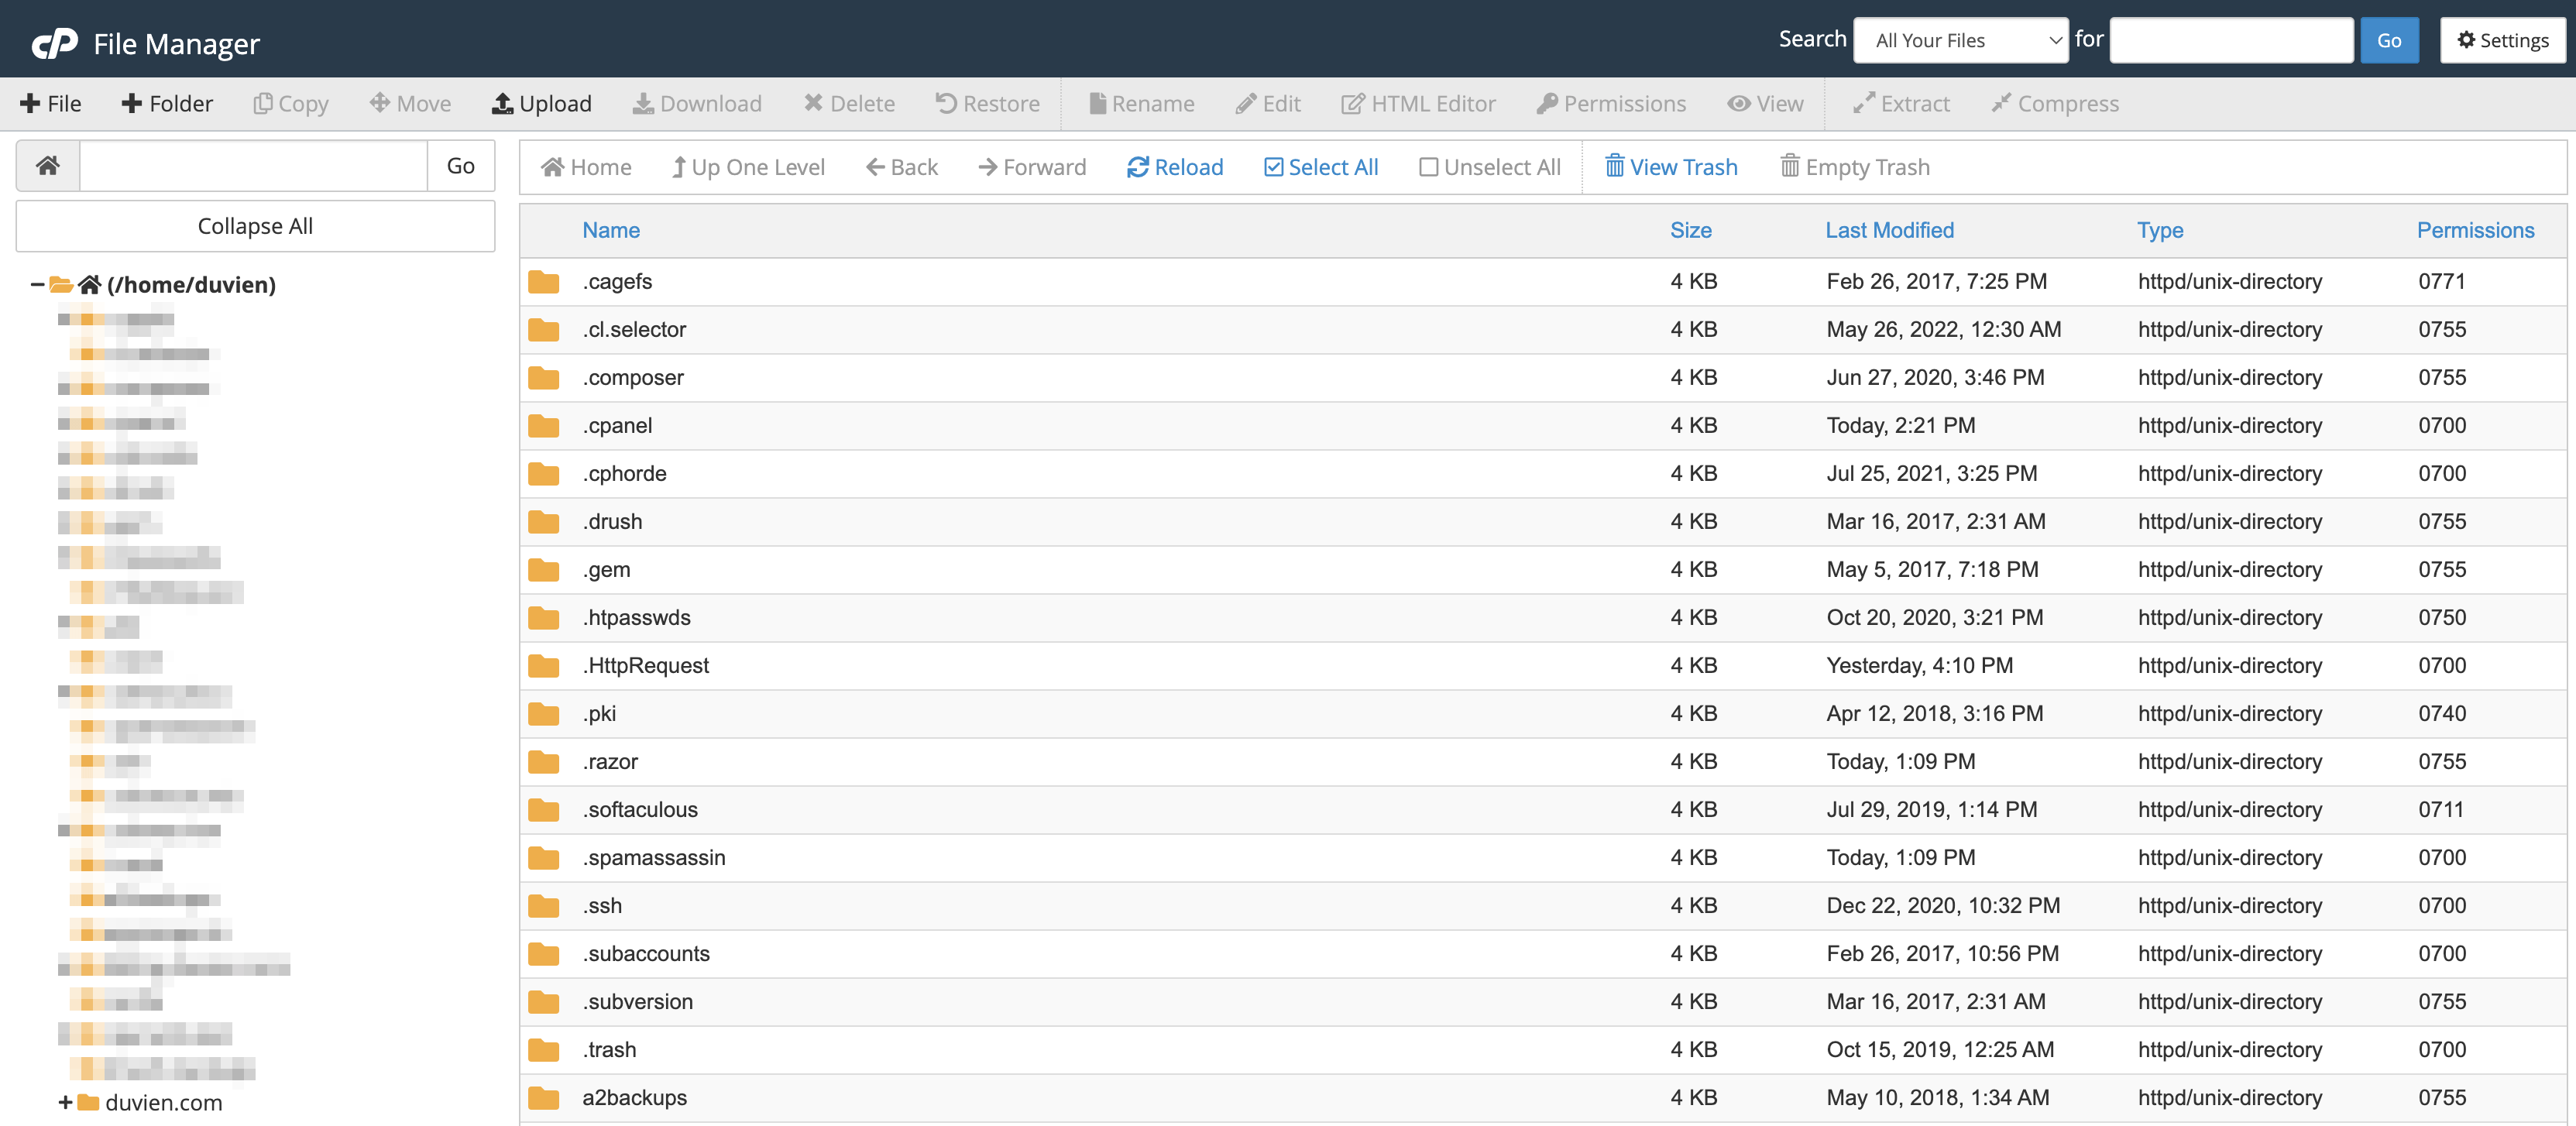
In the left sidebar panel, look for a folder name public_html. This is your root directory for your website, click on this. The main windows is where it shows the content of the folder you have clicked on. This where you will upload all the files to (into your public_html).
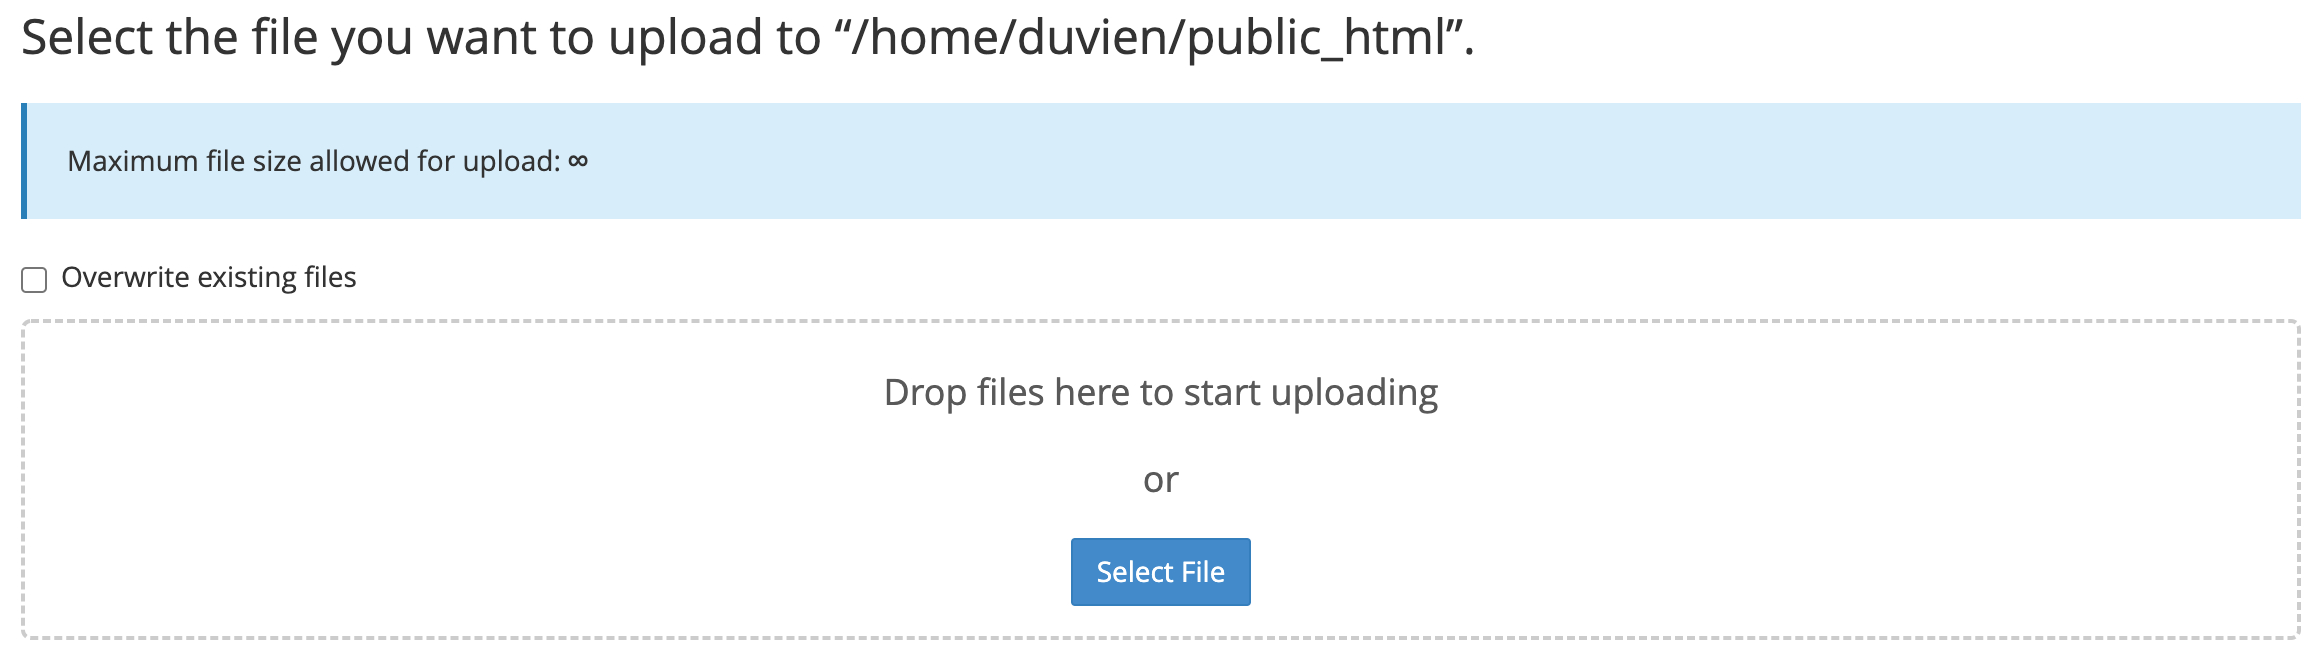
Click on the 'upload' link at the top. It will open another new tab. This is where you add all your files to upload.
Point a web browser to start the installation script.
- If you placed the WordPress files in the root directory, you should visit: http://example.com/wp-admin/install.php
Setup configuration file
If WordPress can’t find the wp-config.php file, it will tell you and offer to try to create and edit the file itself. (You can also do this directly by loading wp-admin/setup-config.php in your web browser.) WordPress will ask you the database details and write them to a new wp-config.php file.
The following fields need to fill out are:
- Database Name - this is the name of the database you created earlier
- Username - this is the database user name you created earlier
- Password - this is the database user's password
You can leave the other fields with its default values.

Finishing installation
The following screenshots show how the installation progresses. Notice that in entering the details screen, you enter your site title, your desired user name, your choice of a password (twice), and your e-mail address. Also displayed is a check-box asking if you would like your blog to appear in search engines like Google and DuckDuckGo. Leave the box unchecked if you would like your blog to be visible to everyone, including search engines, and check the box if you want to block search engines, but allow normal visitors. Note all this information can be changed later in your Administration Screen.

If you successfully install WordPress, login prompt will be displayed. Use the login credentials you have created during installation to login.
If you have made it this far, well done you have a new WordPress site installed and is live.