What is Cloudflare?
Cloudflare is a global network designed to make everything you connect to the Internet secure, private, fast, and reliable. Secure your websites, APIs, and Internet applications. Protect corporate networks, employees, and devices. Write and deploy code that runs on the network edge.
Furthermore, it's a Content Delivery Network (CDN) and page caching to increase website performance.
Cloudflare comes with a free (basic) and paid plans. For this guide, the free plan is sufficient.
What's really nice about Cloudflare is that you can add multiple domains and configure each separately all free of charge.
Why use cloudflare?
In my opinion, connecting your website to cloudflare and serving up your webpages to site visitors is like having your own firewall and proxy server that sits between your website server and the internet. This gives us added advantage of blocking bad bots and black listed servers, and also help to serve cached content.
How to setup Cloudflare for your domain name
Setting up cloudflare is as straightforward as signing up to a domain registrar and pointing your nameserver to your Cloudflare profile.
- Visit Cloudflare signup page and create a free account.
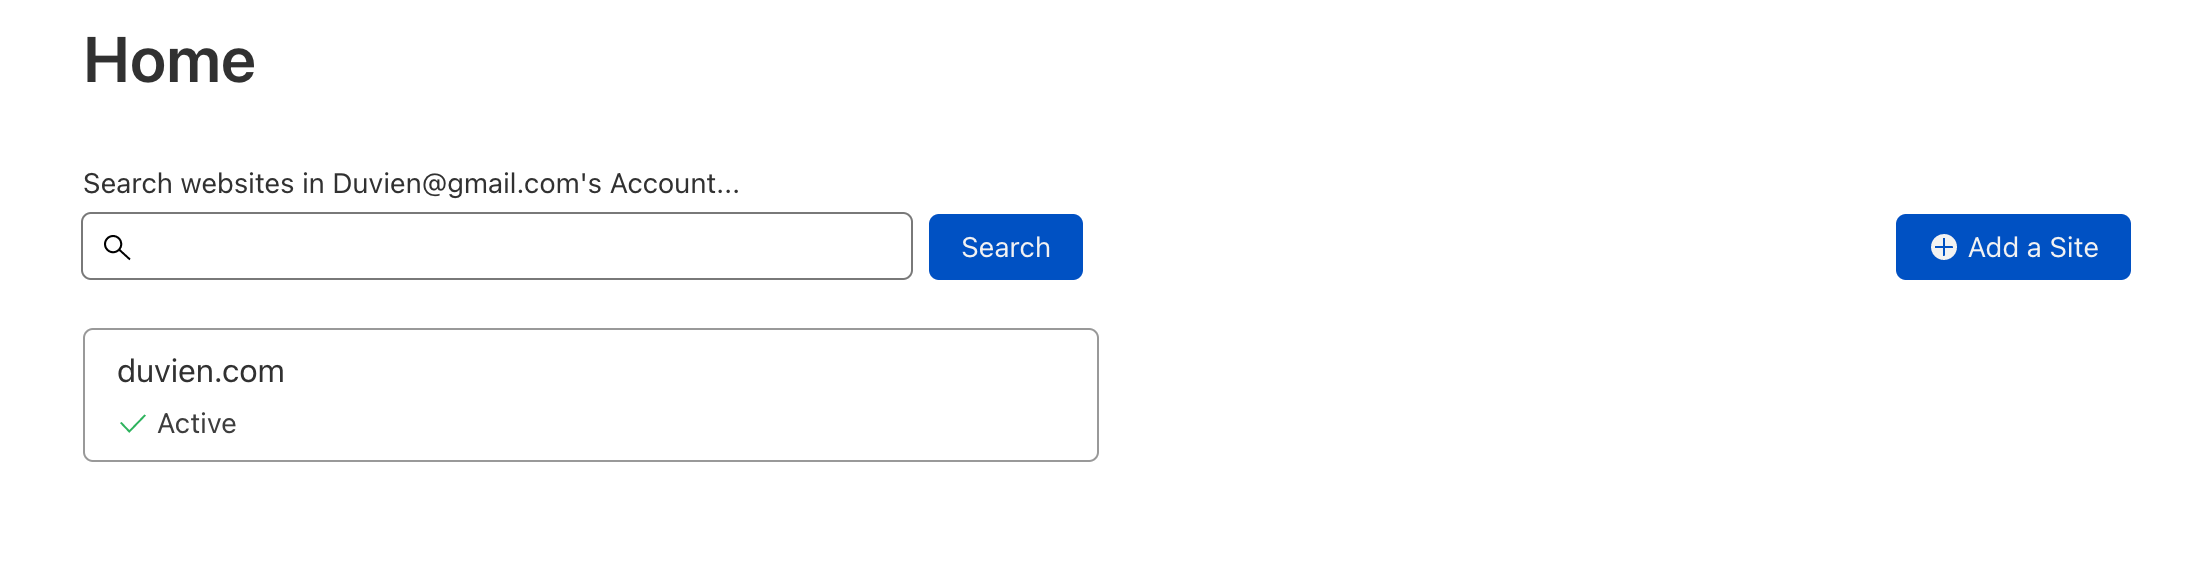
- Sign into your Cloudflare account and click on 'add a site'.

Enter your domain name and click on the 'Add site' button.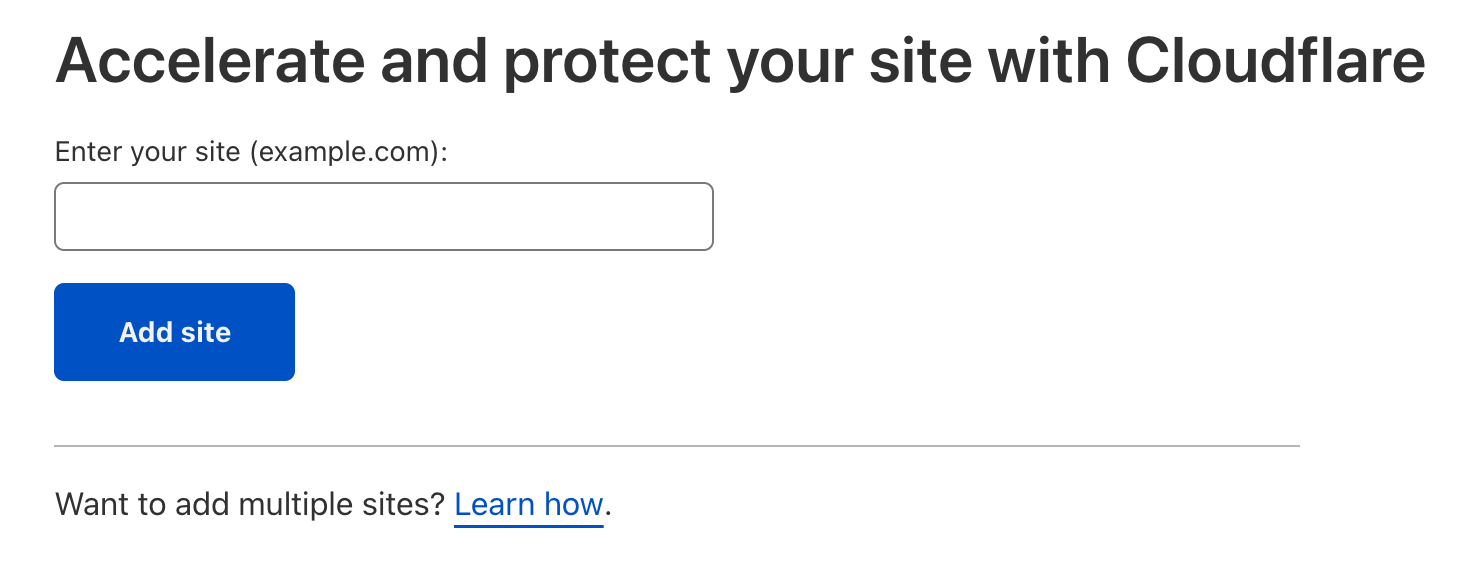
- Now we need to point your domain to Cloudflare. From the Cloudflare dashboard, click on your domain name.
Then click on the menu link 'DNS' in the left sidebar panel.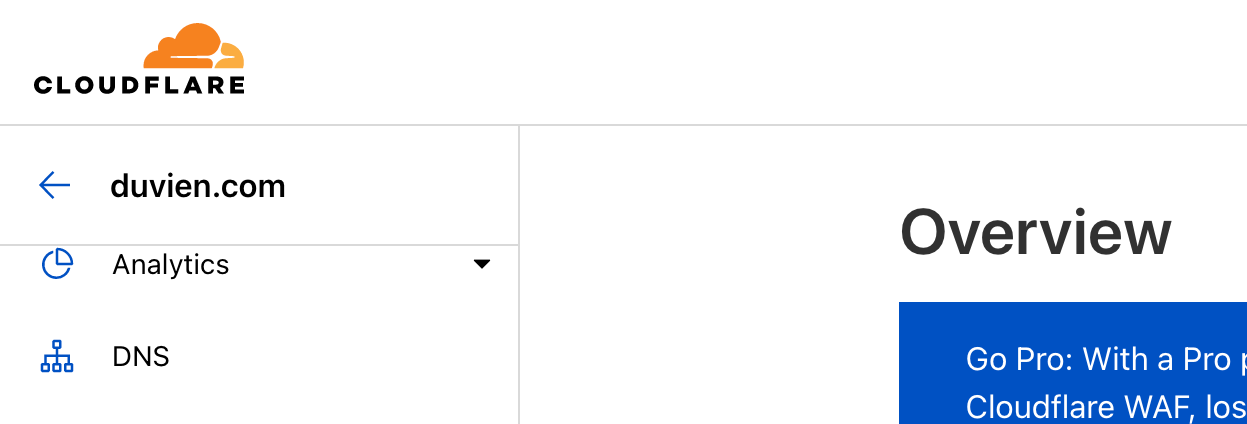
We are on the DNS page to find our cloudflare name servers. Scroll down until you see a section called 'Cloudflare Nameservers'.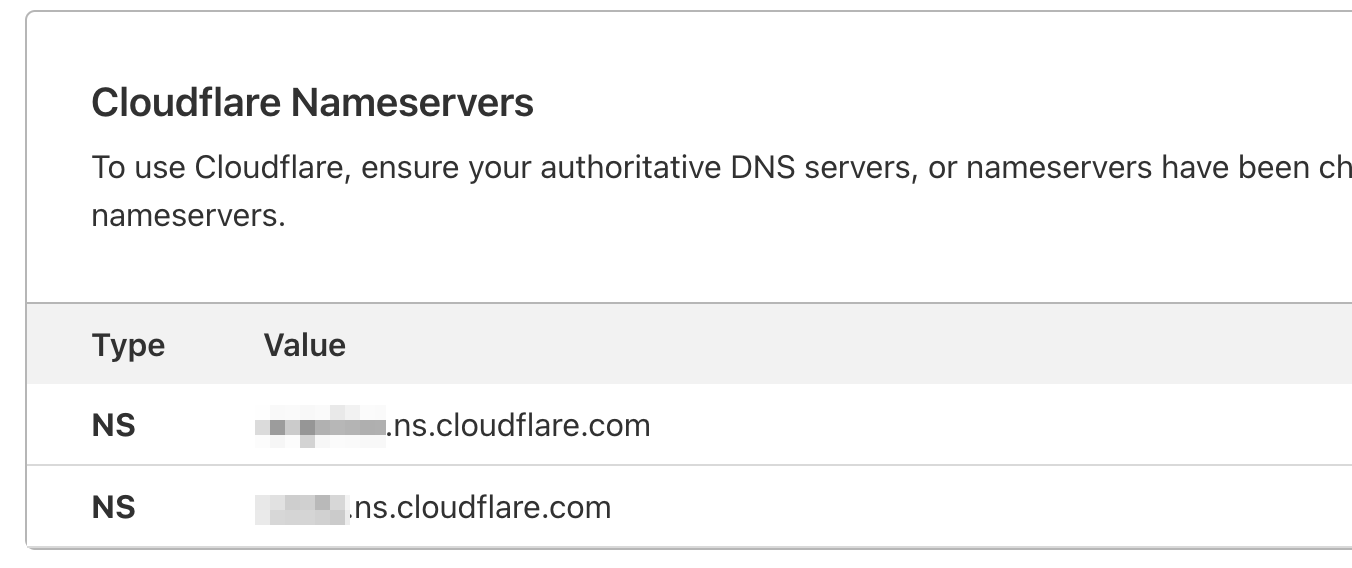
- Now you need to go to you web host or domain registrar and change the name servers to your cloudflare nameservers. It can take up to 24 hours for the changes to take effect.
Finally, we need to add the domain to your Cloudflare DNS settings. Go to the 'DNS' page.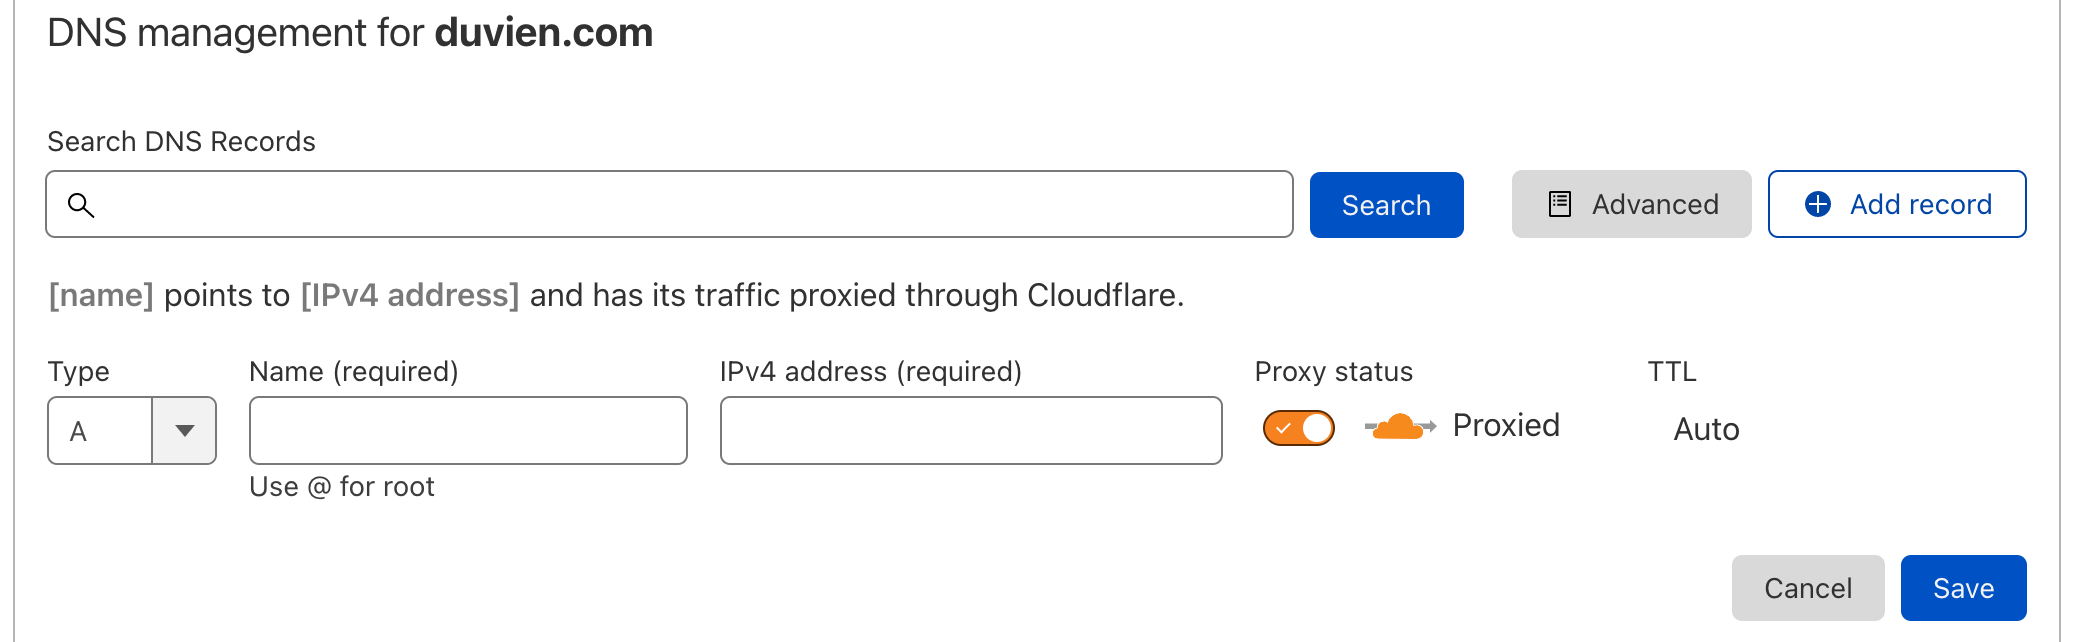
- Click on the 'Add record' button.
- In the Type field, select 'A'.
- In the Name field, enter your domain name.
- In the IPv4 address field, enter your webserver IP (ie, your website hosting).
If you are with A2Hosting.com, you can find out what your webserver IP is by logging into your control panel. On the dashboard, look for the 'General Information' panel on the right sidebar.
If you are also adding a subdomain, you only need to include the subsdomain name, not the full domain url. For example, if your subdomain is: subsite.domain.com, then just add subsite to the Name field and add same IP address used for main domain. 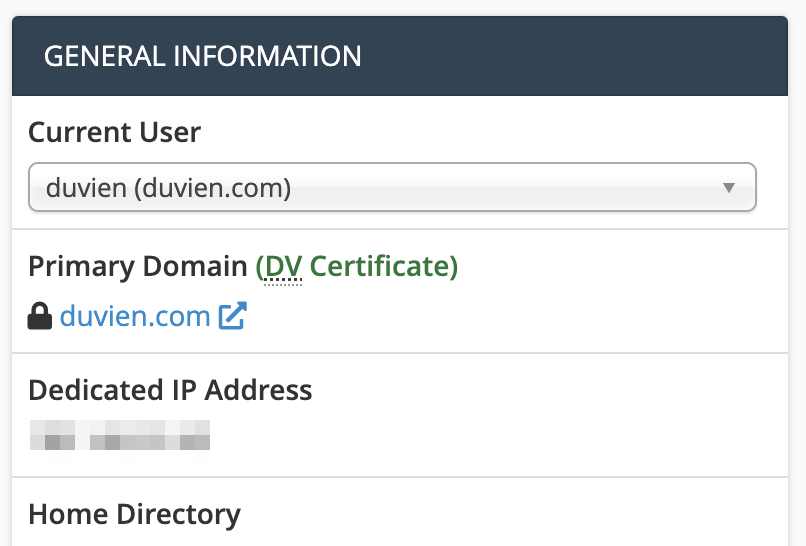
Enter this IP address into the IPv4 address field on Cloudflare. Leave the rest of the default settings and click on the 'Save' button.
Setting up WordPress with Cloudflare
Before we install the WordPress Cloudflare plugin, let's setup an API token as we will need this to connect your website to cloudflare. What does this plugin do? it allows you to flush the cache on Cloudflare.
Let's create the API token. From your cloudflare 'overview' page, scroll to bottom and look in the right panel. You should be able to see a section called 'API' with your zone ID and account ID. There is a small link called 'Get your API token', click on this link.
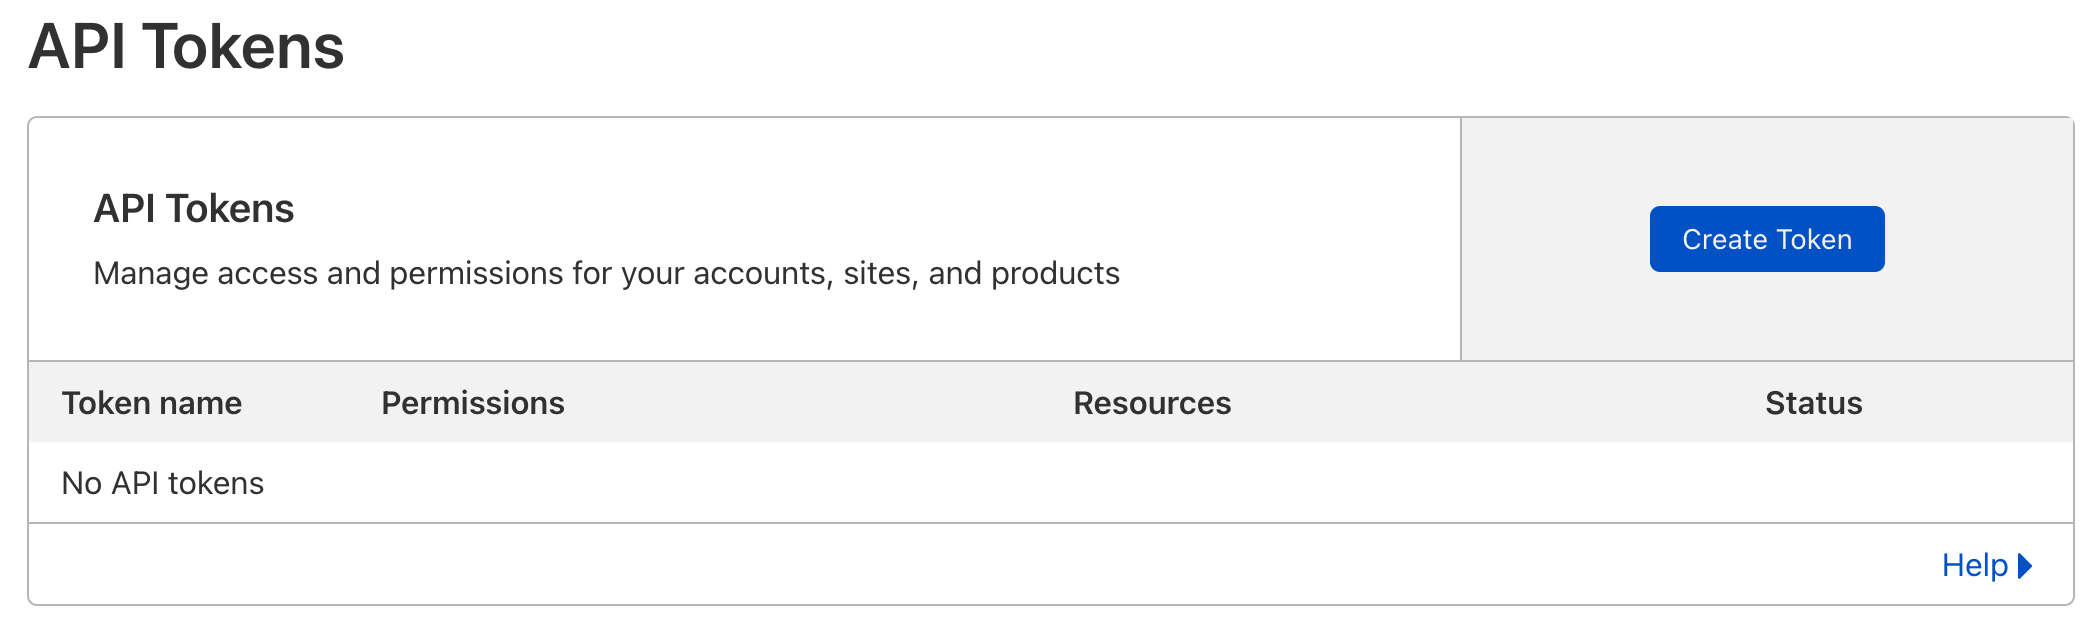
Click on the 'Create Token' button. Scroll down until you see, WordPress. Next to WordPress name, click on the 'Use Template' button.

Keep all the default settings and scroll to the bottom and click on the 'Continue to summary' button. On the next page, click on the 'Create Token' button.
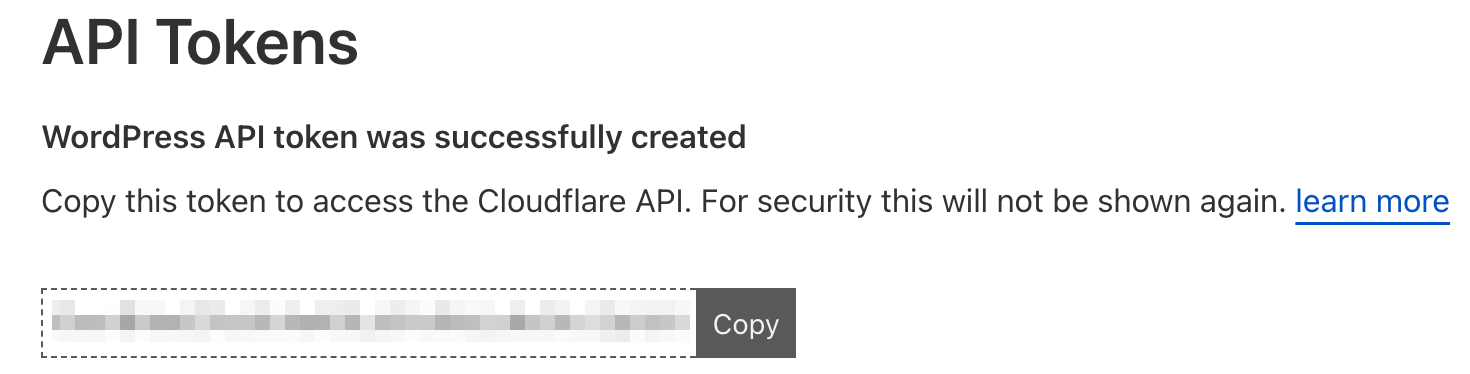
Copy your API token and save this in a text file. You will need this after you install the WordPress plugin.
Installing Cloudflare plugin on WordPress
- Download the Cloudflare WordPress plugin and install it. Or from your WordPress site, go to menu --> plugins --> click on the 'Add New' button. Search for 'Cloudflare'
Click on the 'Install Now' button. - Go to menu --> Settings --> Cloudflare. To connect your site to Cloudflare, enter your user name and copy and paste your token API.
- Once you have successfully connected your site. Click on the 'Apply' button.
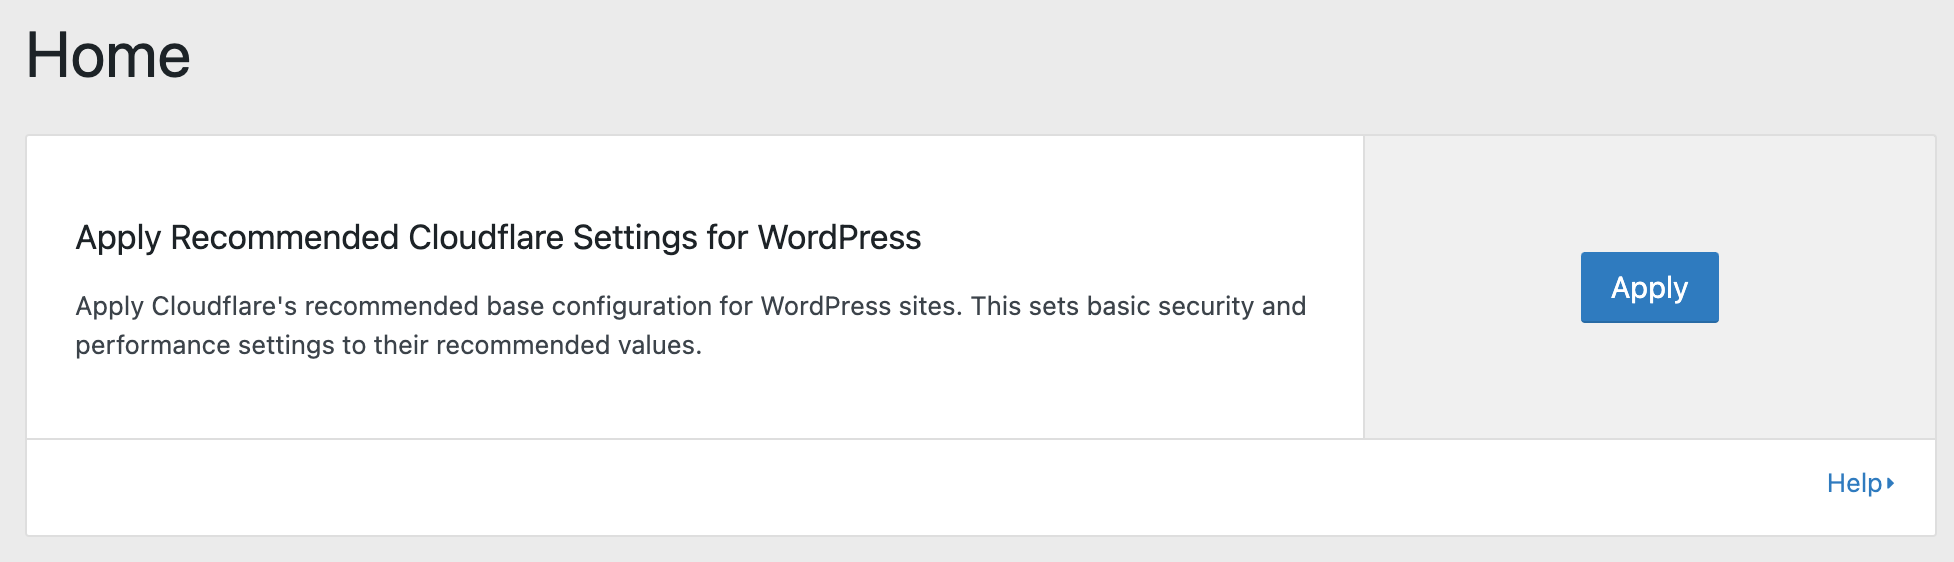
Well done, you are now all setup. The next step will be configuring your Cloudflare to further protect your site and improve site performance.
Configuring Cloudflare for your WordPress site.
The recommended settings for free accounts cache your WordPress website content and secure your site are as follow. From your cloudflare account, go to 'Page Rule' (menu --> Rules --> Page Rules) and add the following.
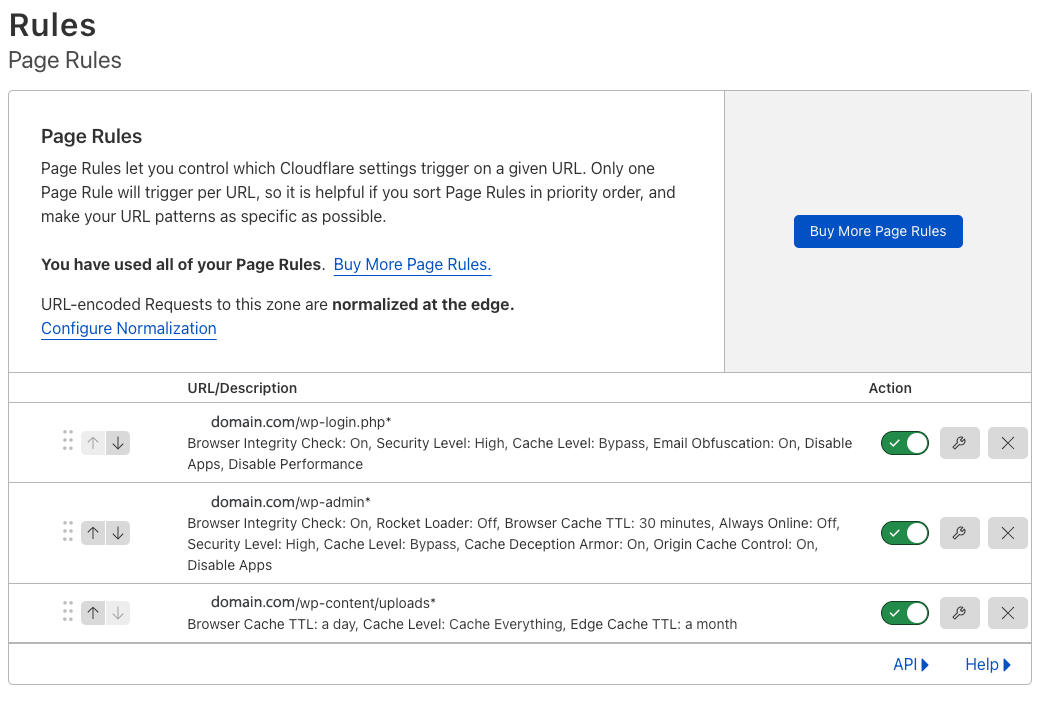
Cloudflare settings applies to the whole domain including sub domains. If you have a subdomain with a test site, you probably don't want to cache the content as it will be annoying each time you make an update or changes to your theme, you need to clear the cache. So to prevent the test site from being cached, you need to decide which page rules you want to replace since on free account you only get 3 page rules. The other alternative is to pay for another additional page rule.
Personally for me, i think i would replace caching the uploads folder (ie, domain.com/wp-content/uploads). This is the directory where all your stored images are. We will use WordPress LS Cache plugin to cache content and improve site performance. That will be in the next article.
The page rule you want to add to stop caching your subdomain is:

Replace staging.domain.com with your own subdomain name.