Before we begin, make sure you have Wamp, Composer and Git setup for a local development. If you have not done that, follow these tutorials:
- https://duvien.com/blog/setting-local-development-server-wamp-windows-10
- https://duvien.com/blog/setting-wamp-composer-and-git-windows-10
When you install Git, remember to also install Git Bash.
Installing a Drupal 8 or 9 composer based setup
Start your wamp server and make sure you are running PHP 7.4
Lef-click wampmanager icon -> PHP -> PHP version
Open up Git Bash and change directory to your webroot (assuming you have been following my previous tutorial, i created a new directory to use as my webroot (or docroot) directory named /htdocs instead of using /www).
In your Git Bash, type:
cd /c/wamp64/htdocs
You should now be in your /htdocs directory.
Now we want to create a new database to use for our Drupal installation.
Left-click wampmanager icon -> phpMyAdmin
For this tutorial, we will name the new database drupal
Back to your Git Bash, type:
composer create-project drupal/recommended-project my_site_name_dir
Note: replace my_site_name_dir with any name you want. This is going to be the directory that your full Drupal installation will be installed into.
For this tutorial, I will name the directory drupal
There are other Composer Drupal templates you can use but i only ever use the Composer Drupal recommended project template.
The above line will install the latest build which is Drupal 9.0.3, as of writing this article.
To install Drupal 8, append a version number to target a specific version:
composer create-project drupal/recommended-project:^8.9.3 my_site_name_dir
Composer will now fetch Drupal core and all its dependencies, and place all the files into drupal directory.
Change directory into drupal directory and list the content of drupal directory
cd drupal && ls
This is what you will see:
composer.json composer.lock vendor/ web/
You might be wondering where our Drupal core files are? It is all inside the /web directory. This /web directory is now actually the webroot for this installation. Using this Composer Drupal template that is how they have structured the installation and there are reasons for this. For security, your composer and vendor should really be outside of the webroot. You can placed other directories such as /private (for private file system) and /tmp (temp directory) just outside of /web directory so it looks like (if that is what you want to do):
composer.json composer.lock private/ tmp/ vendor/ web/
Before we can start our installation process, we need to configure our vhost to make /web directory our webroot.
Left-click wampmanager icon -> Your VirtualHost --> VirtualHost management
In the field for: Name of the Virtual Host No space - No underscore(_), type:
drupal
In the field for: Complete absolute path of the VirtualHost folder Examples: C:/wamp/www/projet/ or E:/www/site1/, type:
c:/wamp64/htdocs/drupal/web
Click on the 'Start the creation of the VirtualHost' button
Now you have to restart DNS for it to take effect.
Right-click on Wampmanager icon -> Tools -> Restart DNS
Now go to your web browser and in your address bar, type: http://drupal/
You should be presented with the Drupal installation page.
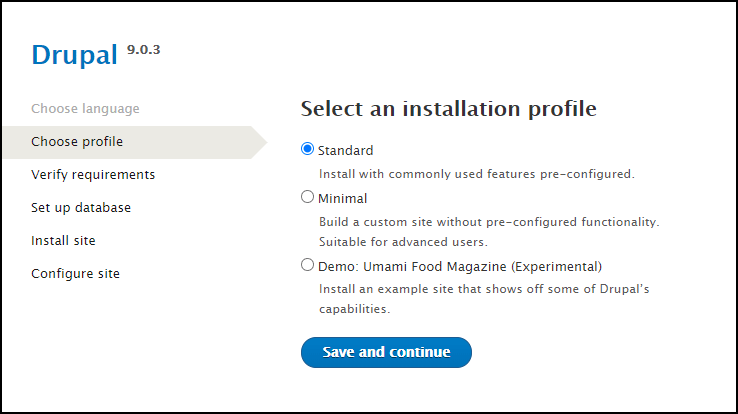
There are 3 installation profile. Standard is the main profile you will mostly use in most cases. The 'Demo: Umami Food Magazine (Experimental)' can be useful as it setups up some pre-configured content types and etc so you can learn how things are setup in Drupal but this should not be the starting point for a new site development (use 'Standard' instead).
On the next page:
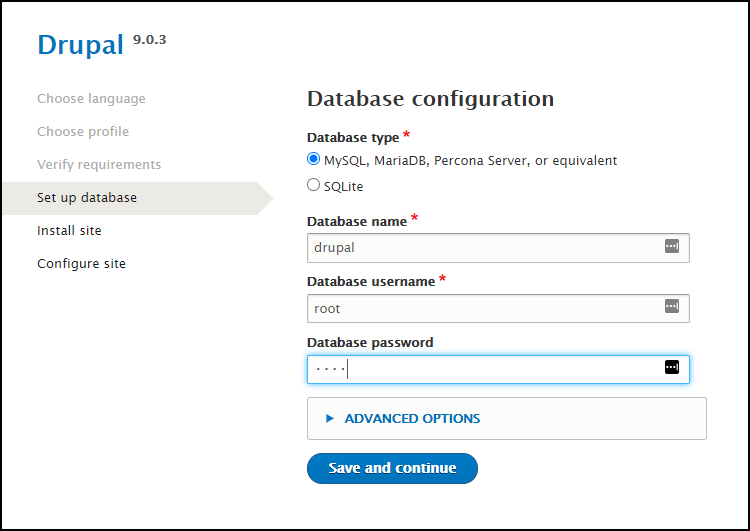
Enter the following:
- Database name: drupal
- Database username: root
- Database password: root
If you did not set a root password, leave this password field blank.
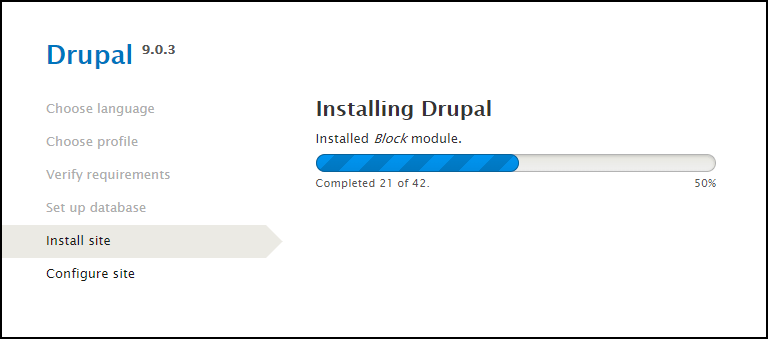
next page, should start the installation... just wait...
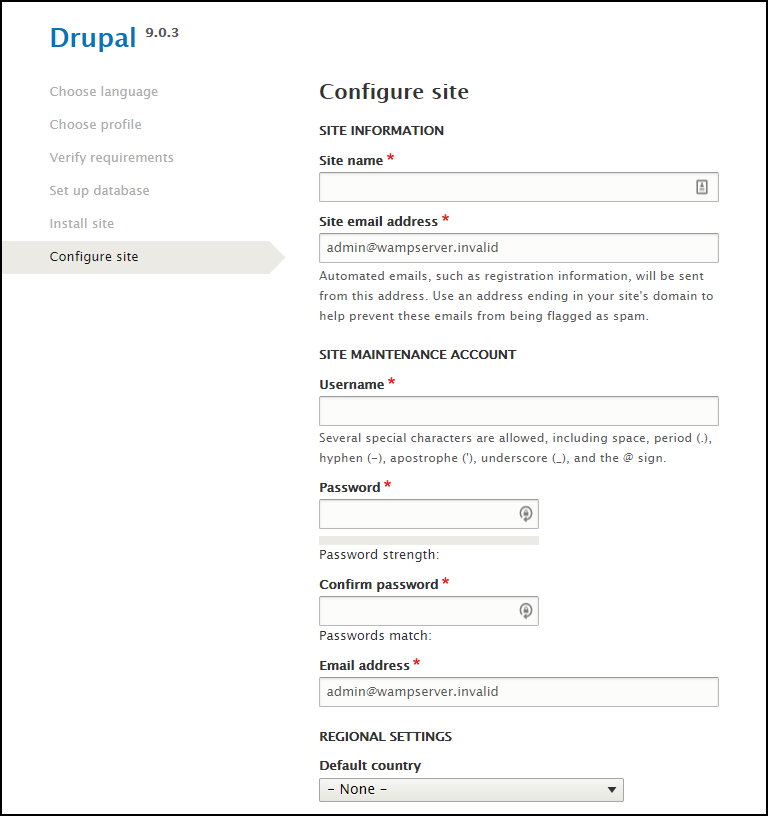
Finally, we need to fill out basic site configuration and create a super admin user and password.
Your welcome page...

Yes, I know it is not a lot to look at. However, there is a core initiative started recently to add a better and more useful core default frontend theme called Olivero (download | demo)
If you get a warning about your trusted host, see: https://www.thesavvyfew.com/insights/how-fix-provided-host-name-not-valid-server-drupal
If you have been following this tutorial and created a vhost named drupal, then your trusted host in settings.php would be:
$settings['trusted_host_patterns'] = array(
  '^drupal$',
);
Install Drush to run per Drupal installation (optional)
If you want to install Drush, we can do this with Composer. It means we can run Drush within this Drupal installation directory.
In the same drupal directory where your composer.json resides, type:
composer require 'drush/drush'
This will fetch the latest Drush version and all it's dependencies. To run Drush Commandline Tool, type:
vendor/drush/drush/drush
So if you want Drush to print out the status of your Drupal build, type:
vendor/drush/drush/drush status
If you want to know what Drush commands you can use, see: https://drushcommands.com/drush-9x/docs/10/
Starting a new Drupal installation with same Composer template
If you want to install a new Drupal installation, you don't need to run the composer command to fetch the composer Drupal project template. All you need is the 2 files - composer.json and composer.lock
To do this, create a new directory and copy both composer files into the new directory, then just run this command:
composer install
This will fetch Drupal core and all it's dependencies.