Drupal 8 can be thought of as a complete new application under the hood. So moving from Drpual 7 to Drupal 8 can be like migrating to a completely new 3rd party web application because it completely breaks backward compatibility. The downside is that it can be a very costly upgrade to rebuild your complete site again.
Backdrop CMS tries to address this issue be making the migration from Drupal 7 to Backdrop as painless as possible (and more cost effective) since it maintains a lot of backward compatibility.
Furthermore, it also addresses a lot of UX improvements for novice users while maintaining the advance functionalities Drupal users have enjoyed and taken for granted over the past years. It looks to WordPress for some inspiration on UX improvements and have incorporated some of it to date.
I recommend those with a Drupal or WordPress experience to try it out and see what Backdrop has to offer. Installation should only take less than 5 minutes of your time.
The installation is a quick 3 easy steps once your preparation is in place. I setup a subdomain to run backdrop CMS instead of locally on my laptop so i can test it when i don't have my laptop sitting around and having to use another machine.
This article will show you how to install using cPanel (which is common on most hosting providers) and getting a working Backdrop CMS running in a subdomain.
The preparations (subdomain and database):
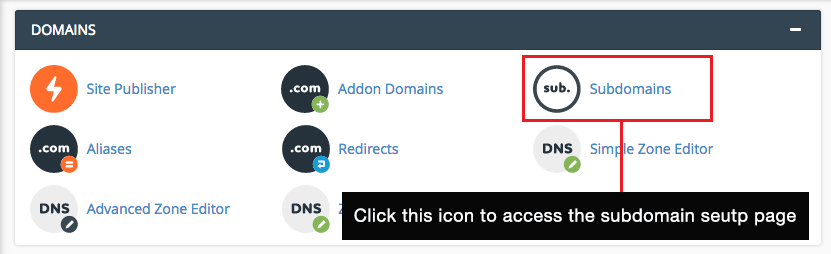
Create a subdomain via cPanel:
Login to your cPanel and click on the subdomain icon, as shown in image below.
Let's create our subdomain. Follow ths steps in below image:
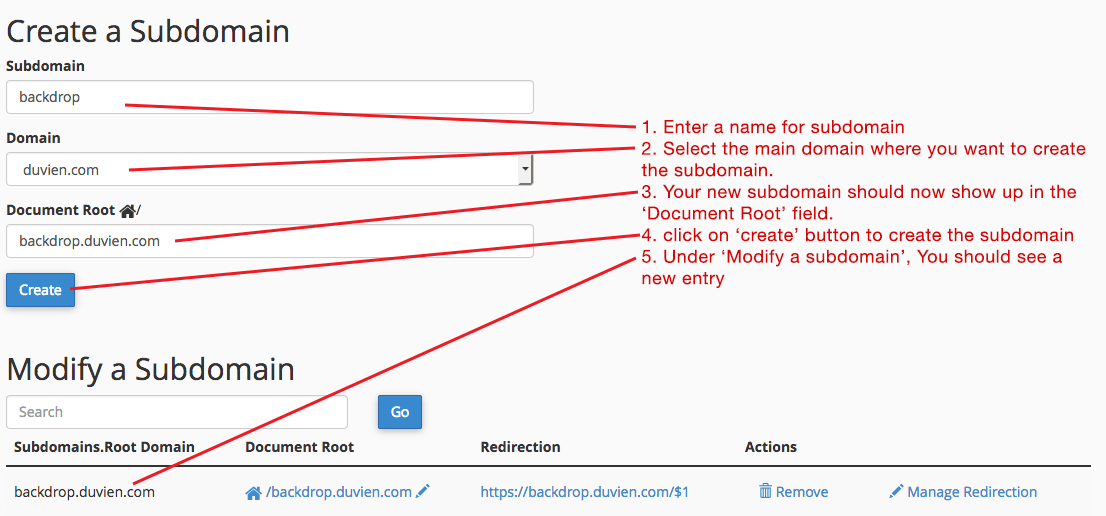
Setting up subdomain in cpanel as follow:
- Enter a name for subdomain in 'Subdomain' field.
- Select the main domain where you want to create the subdomain in the 'Domain' field.
- Your new subdomain should now show up in the ‘Document Root’ field.
- Click on ‘create’ button to create the subdomain.
- Under ‘Modify a subdomain’, You should see a new entry for your subdomain.
Create a database via cPanel:
Backdrop requires a database as it will not create one during the installation (much like most other CMS out there).
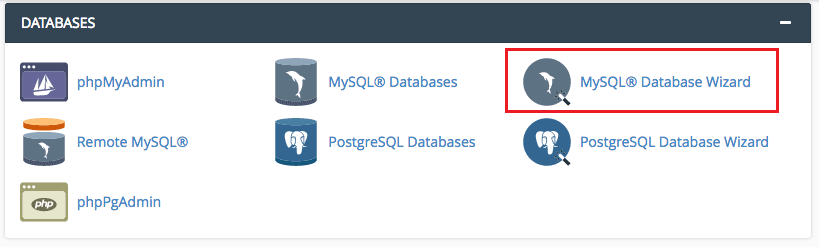
To create a database in cpanel, click on the 'MySQL Databases' icon as shown in image below:
In the MySQL DB setup page:
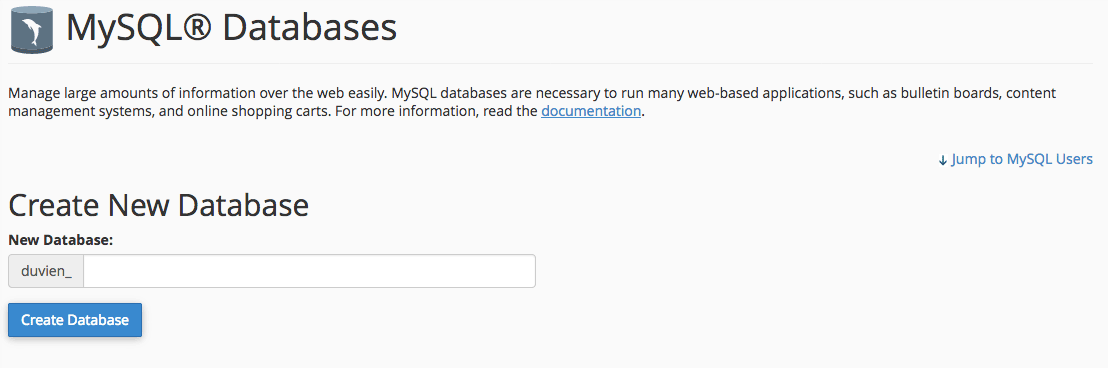
Enter a name for your database in the 'New Database' field.Give it a name like 'backdrop'.
Now we need to create a new user with access to use the DB.
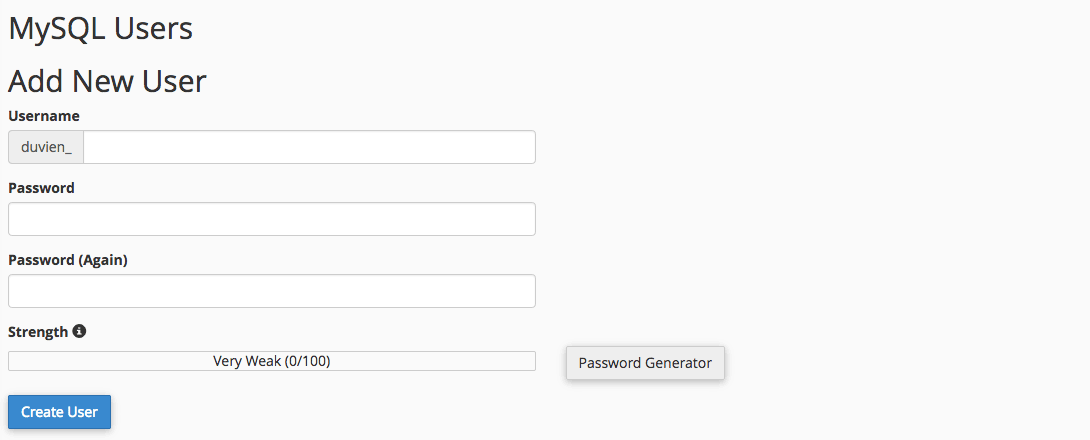
- Enter your new db user name in the 'Username' field. Again, we can just type in backdrop'
- Click on the 'Password Generator' button to generate a long random password. Remember to copy and paste the password to a text file so you will not forget.
- Click 'Create User' button to create the new DB user.
Now we need to tell cpanel which new user can use whch database.
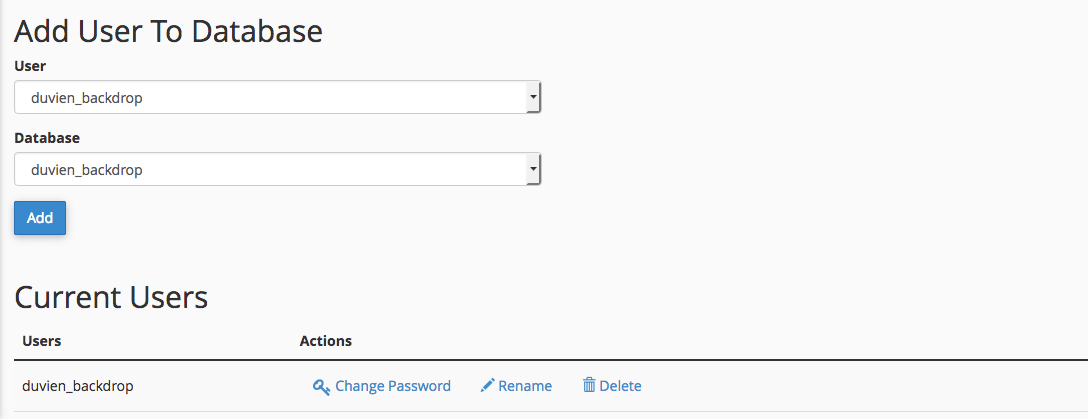
In the dropdown for both 'User' and 'Database', select the user and DB we have just create in this article and click on 'Add' user.
You will then be presented with a page to select user privileges, see image below:
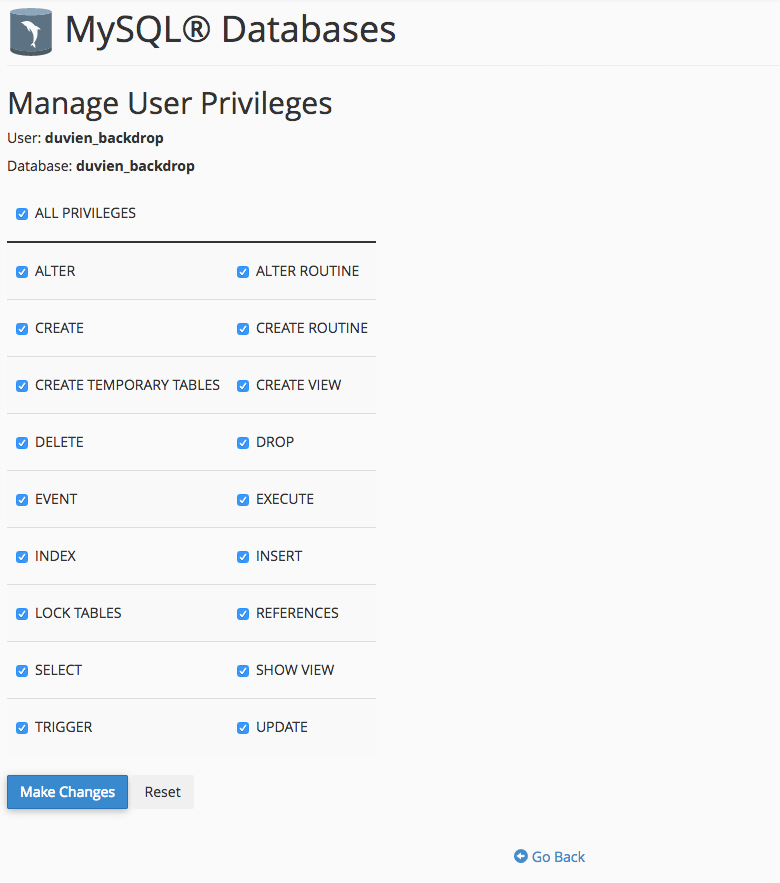
Click (checked) on 'All privileges', to highlight (tick all) the other privilege settings and click on 'Make Changes' button.
Finally, make a note of your DB settings, we need these for Backdrop installation. You should have something written down like (if you have been using backdrop as the name for DB and user):
URL: http://{subdomain}.{main domain name} (ie, https://backdrop.duvien.com)
DB name: duvien_backdrop
DB user: duvien_backdrop
DB pass: ******
Note: use your own database user and password that you have created.
That is the preparation out of the way. We can now begin to install Backdrop CMS via web browser.
But first, we need to download Backdrop. Grab the latest version)
Unzp backdrop.zip and upload the content using FTP program to your subdomain directory on your hosting server. Do not forget to upload the .htaccess hidden file as well.
Another quicker way is to SSH to your server and download backdrop, using this command:
https://github.com/backdrop/backdrop/releases/download/1.7.0/backdrop.zip
To unpack the zip file:
unzip backdrop.zip
This unpacks the zip content and creates a directory called backdrop. We need to copy all the files in backdrop directory to our subdomain (in my case, my subdomain directory is called backdrop.duvien.com ). So i copy all to this directory using this command:
cp -rT backdrop backdrop.duvien.com
Once it is copied into my subdomain directory, i can safely delete backdrop using:
rm -R backdrop backdrop.zip
Now goto your web browser and navigate to your subdomain url (ie, https://backdrop.duvien.com).
You will be presented with this screen (see image below):
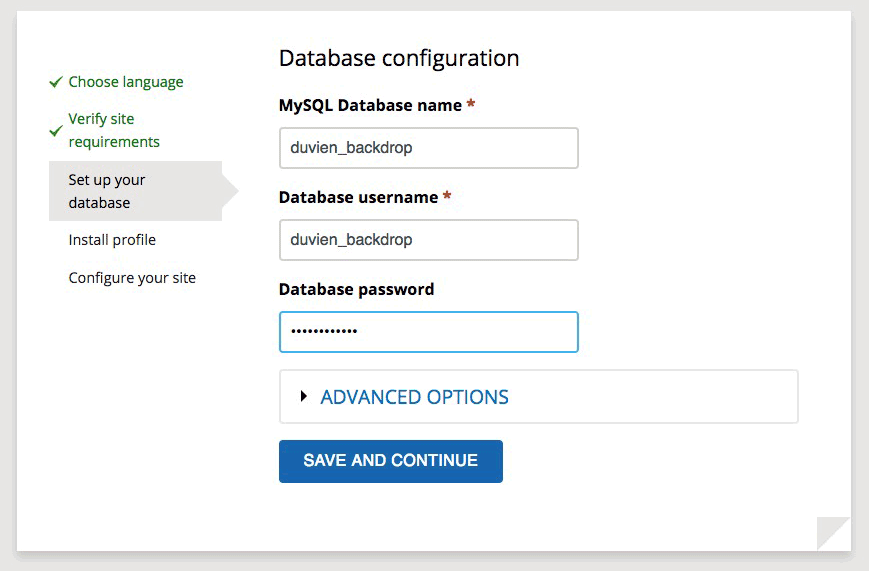
Enter your DB and user name, and your DB password. Click on 'save and continue' button. If your DB details matches, Backdrop will copy this to the settings.php file and continue with your installation.
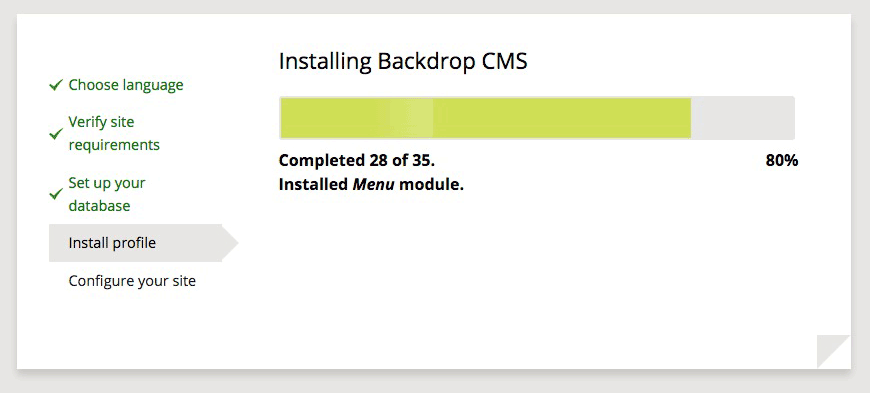
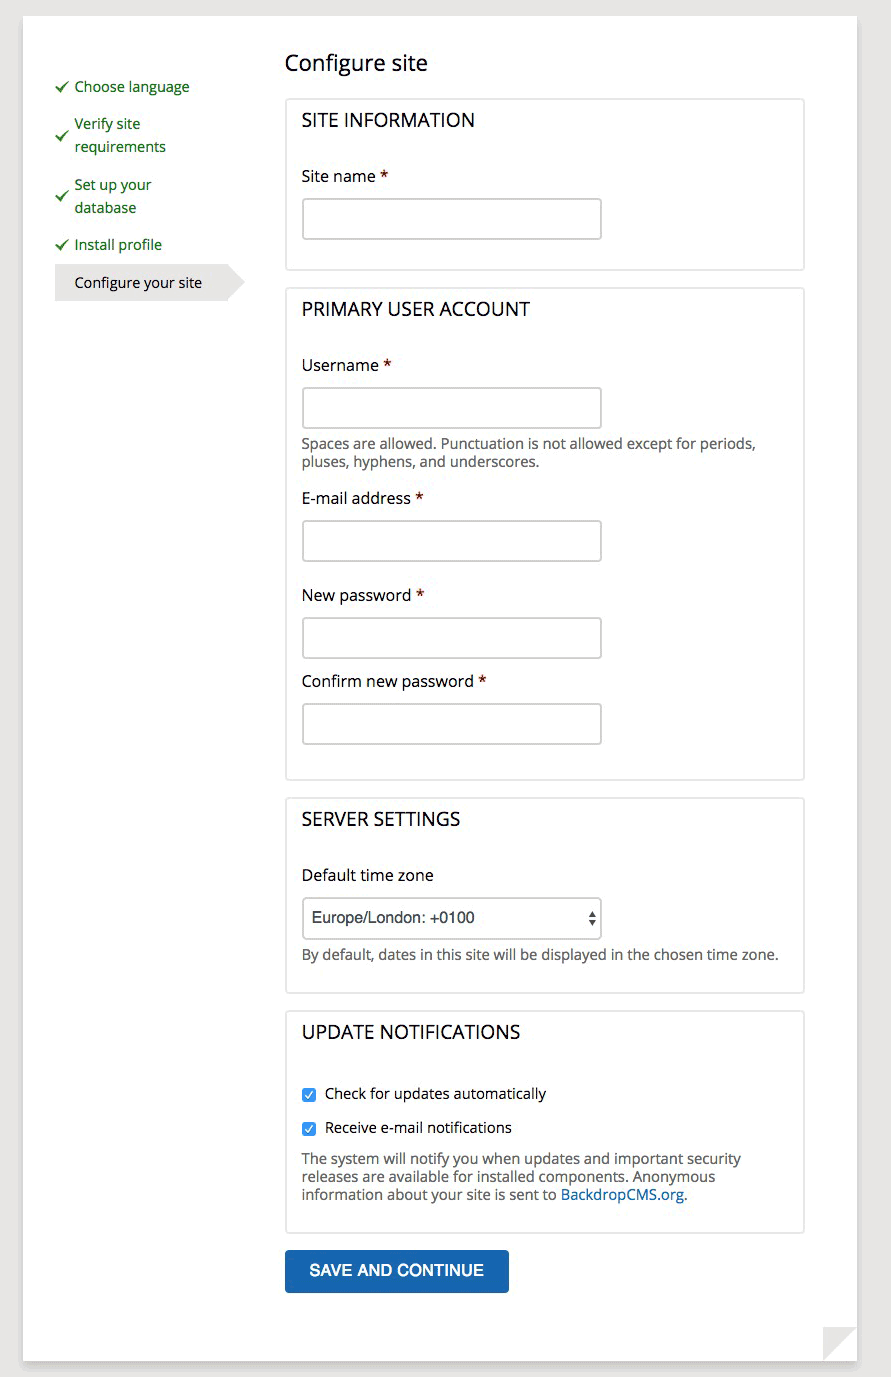
The final step is to create your admin account and name your website. You can change these settings later after installation. The admin account you create here is the super admin, this is an unique role to complete full access to configure and maintain your site. It is unique because there can only be one super admin, though you can assign as many Admin roles as possible but these users do not have full super admin privilege.
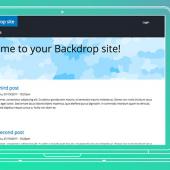
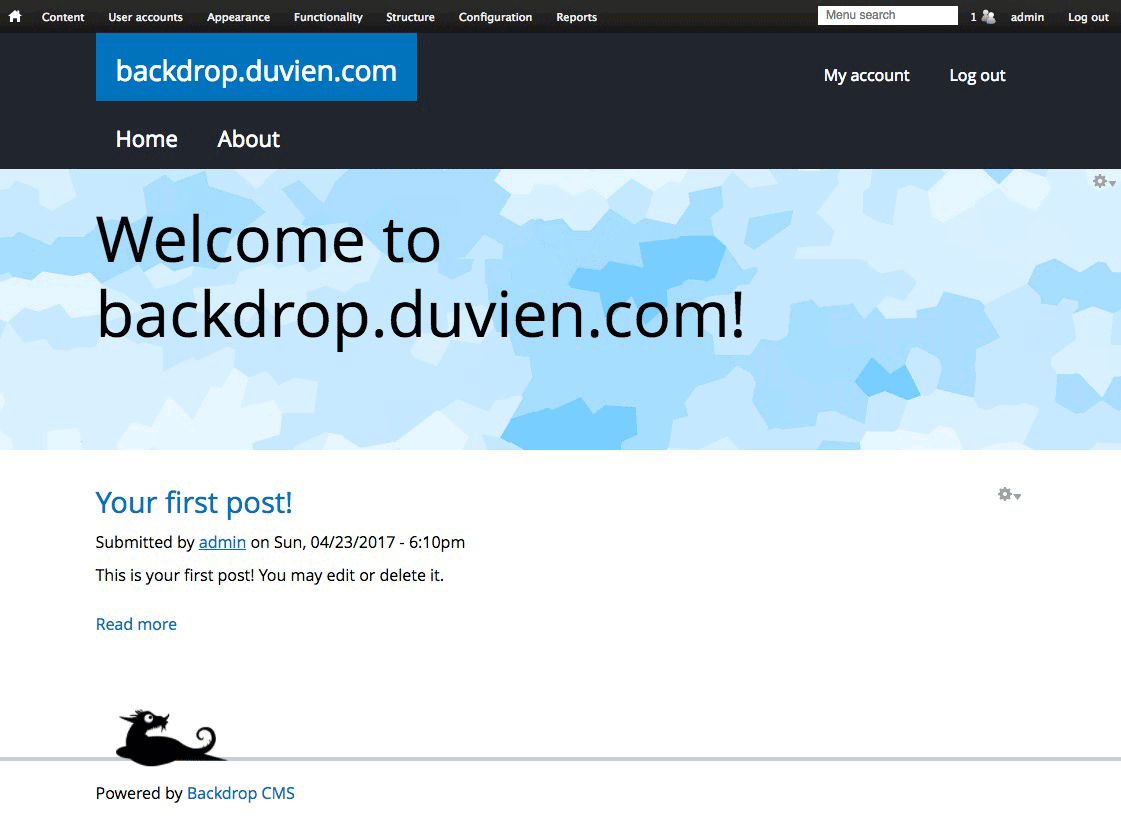
Well done for getting this far, your new site is now up and running along with Backdrop new default theme called Basis. The old Bartik theme used for Drupal 7 and 8 is still there, if you prefer it.
Here is a list of contrib modules that have made it into core so far:
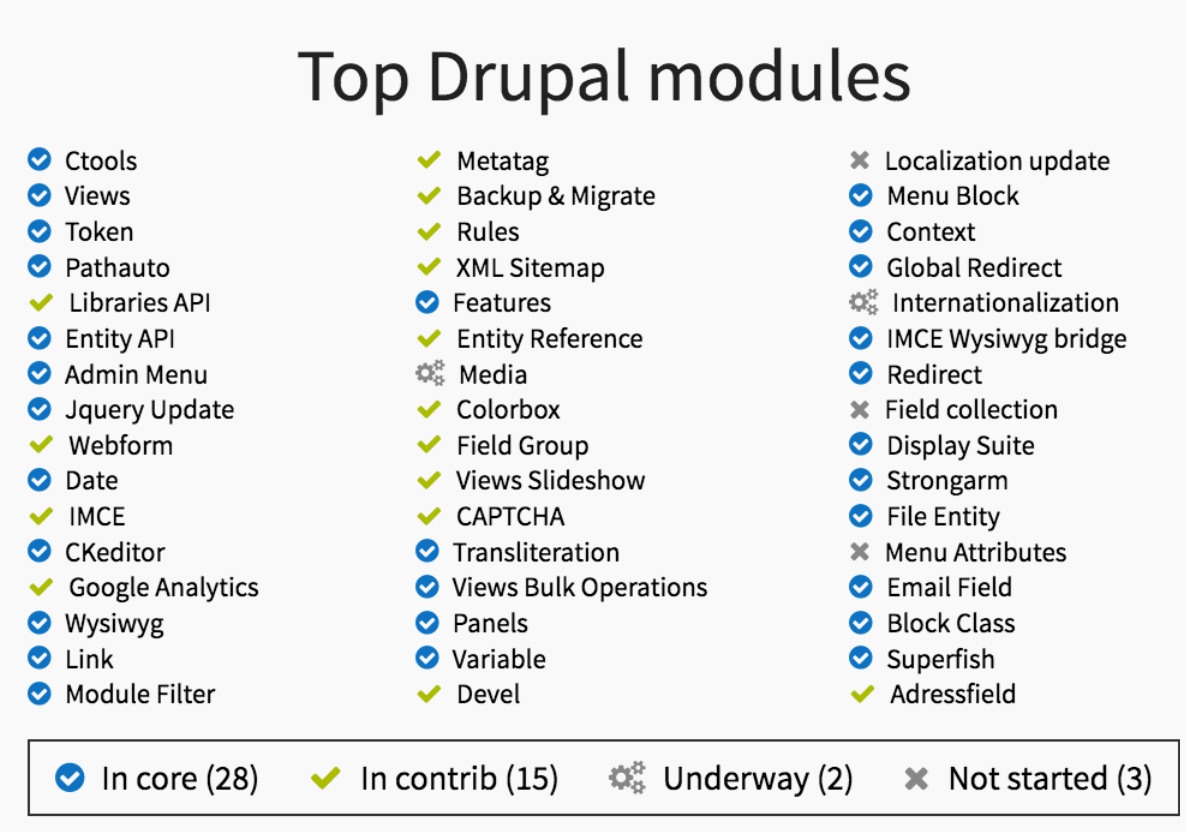
(see: https://backdropcms.org/news/contributed-modules-backdrop-cms for more details)
The next article will be looking into the changes and improvements in the Backdrop admin panel.
So what is your opinion on Backdrop CMS so far?